Super Duper Detailed Design Tutorial!
So you've decided to use Art of Where as your manufacturer for some awesome custom printed goods, and you're not sure where to start when it comes to the design file? This tutorial will take you through the whole process of setting up a repeat design for leggings in Illustrator and then creating the leggings in our design lab.
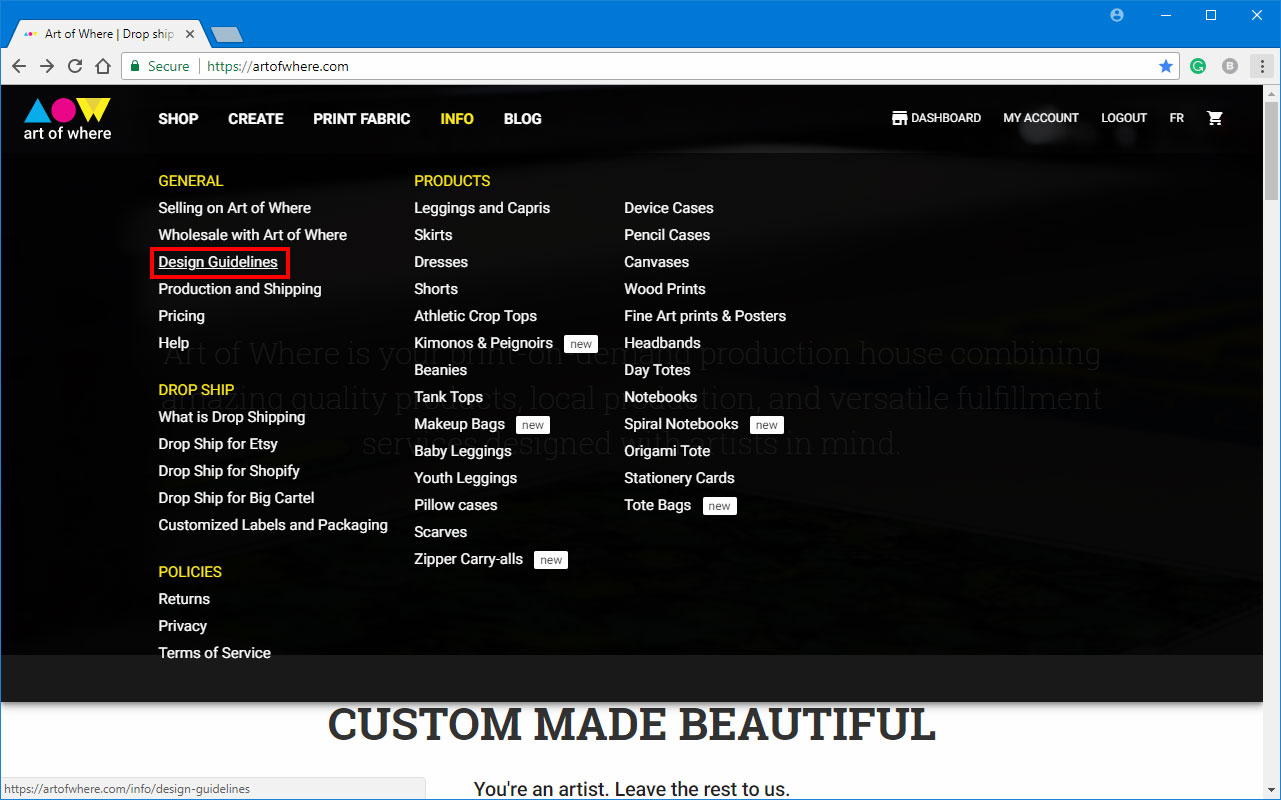
Go to our website and click on INFO.
Under the INFO menu, click on Design Guidlines.
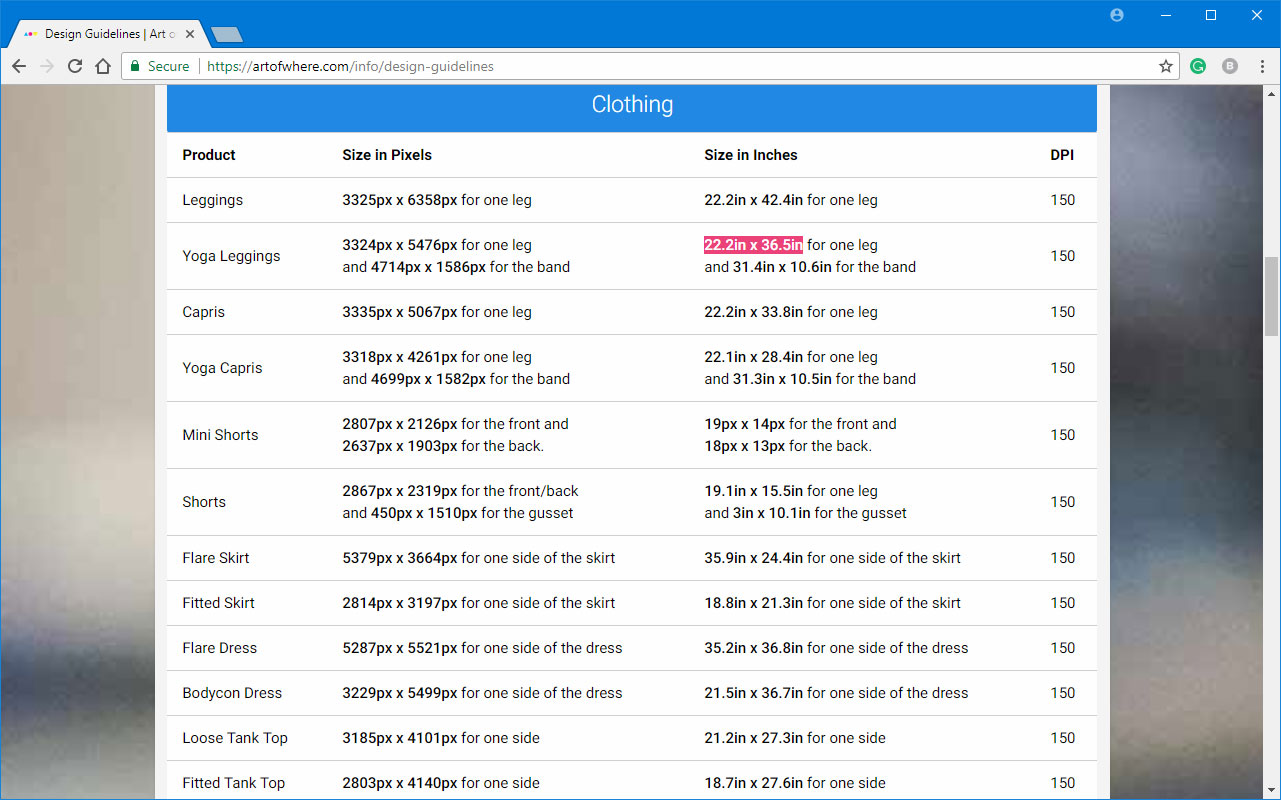
Look for the design guidelines for the product you'd like to design, in this case, yoga leggings. Note the file size needed and the DPI required.
Open Illustrator.
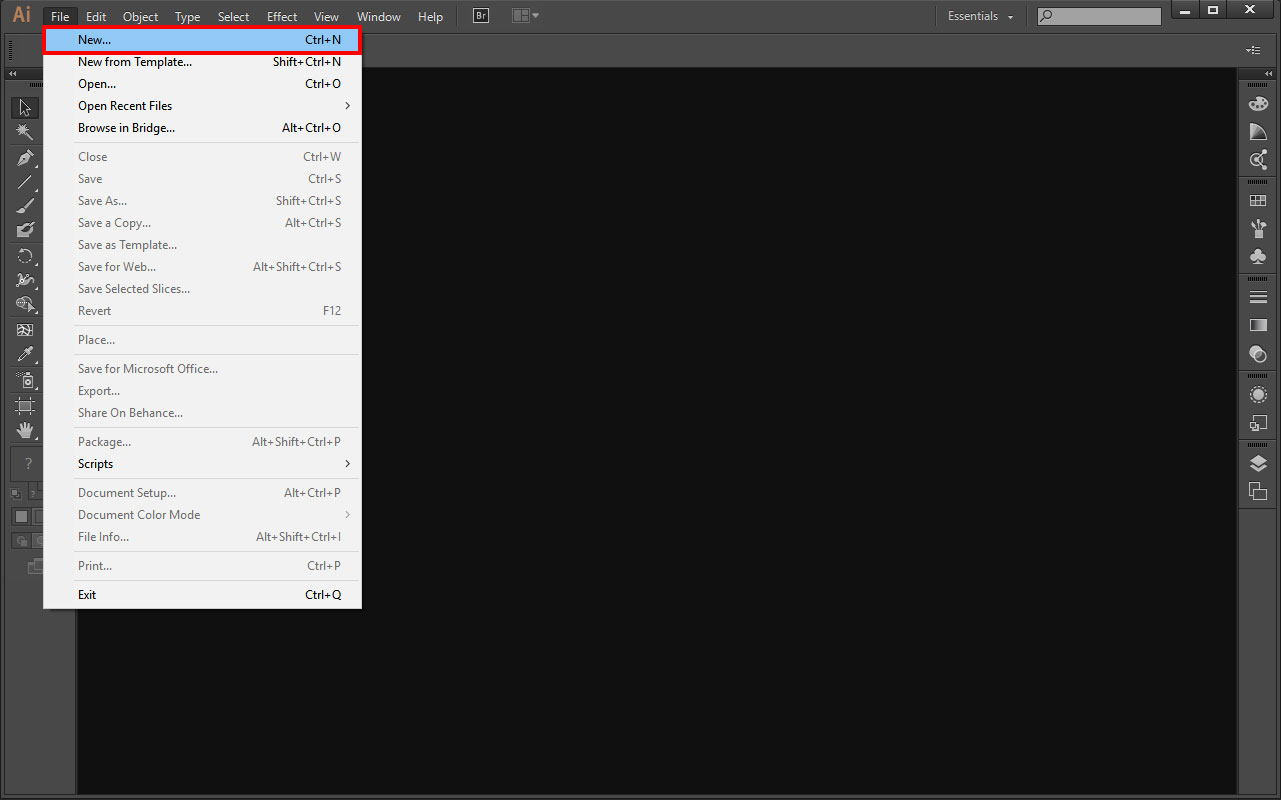
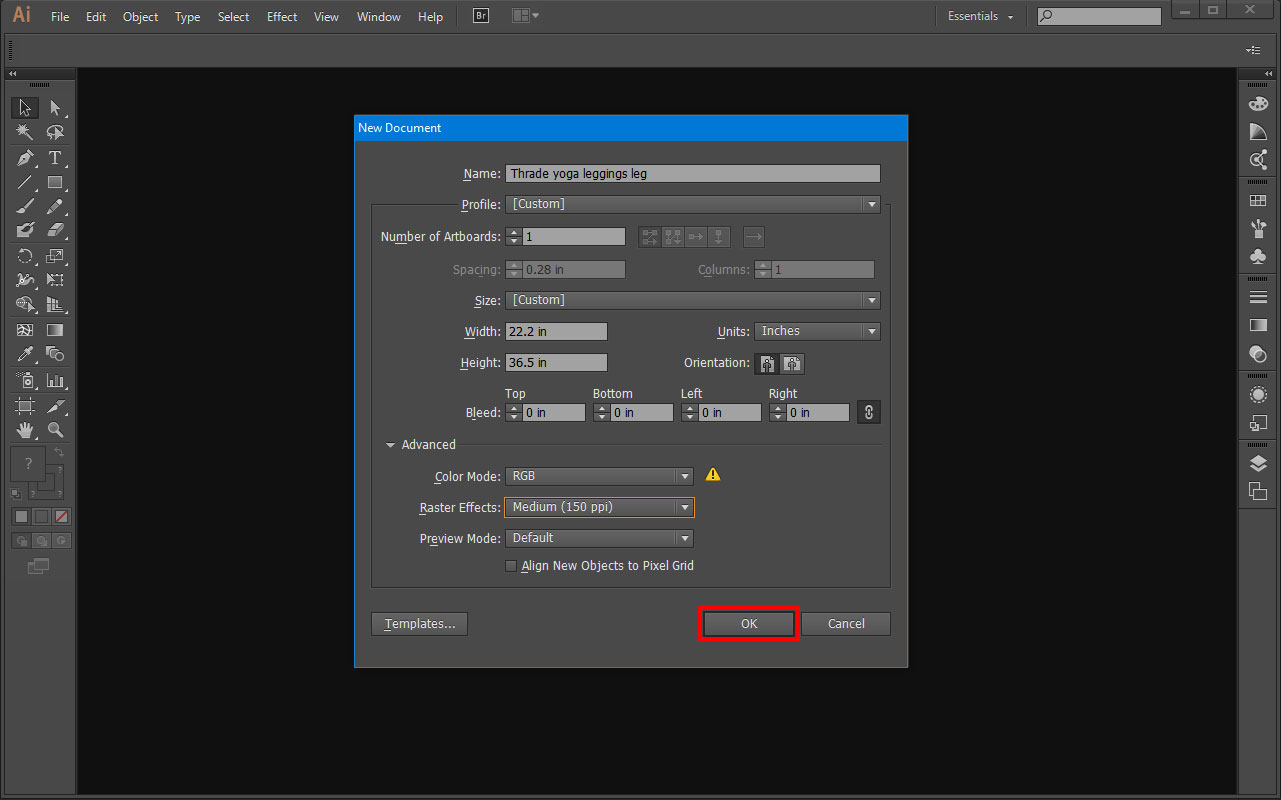
Under file, select new.
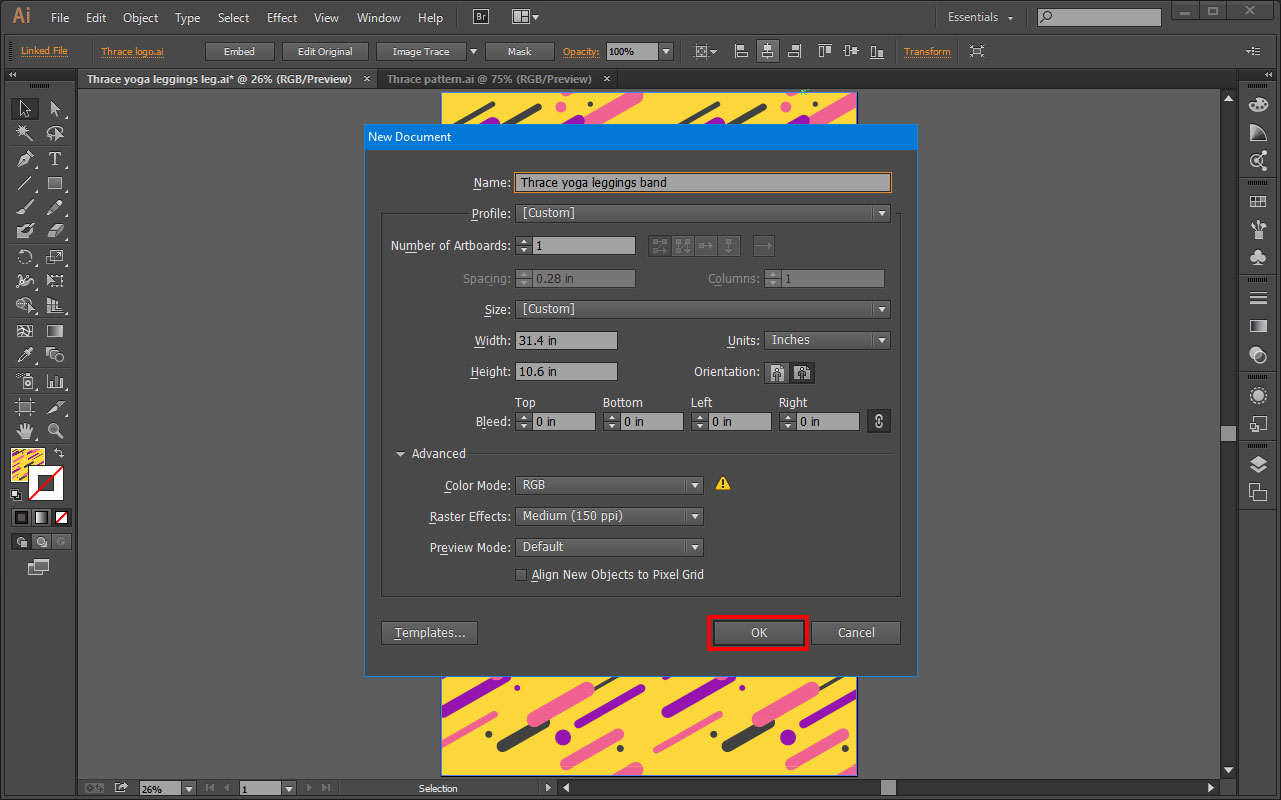
Name your file, select Profile and choose Print.
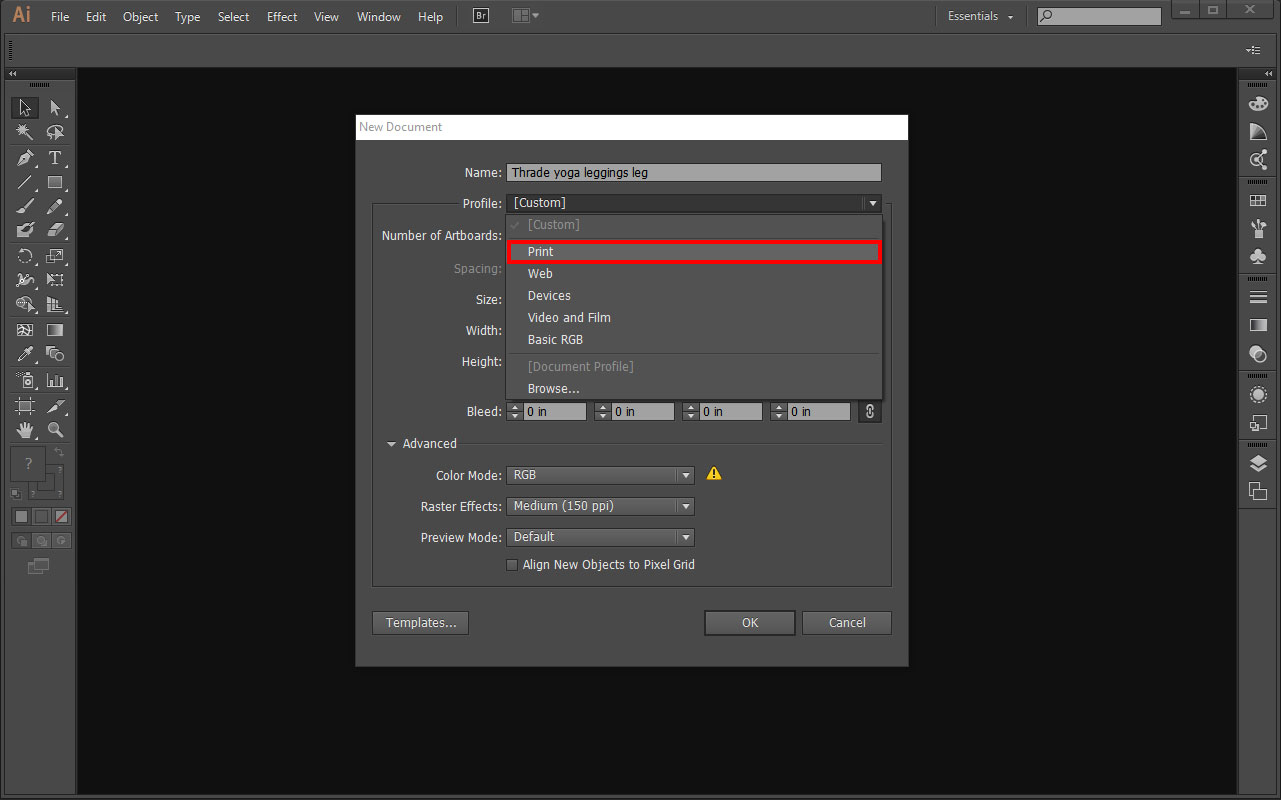
Select custom size. Enter the dimensions from the design guidelines (in inches NOT pixels). Go to advanced settings. For Color Mode choose RGB and for Raster Effects choose 150 DPI. Click save.
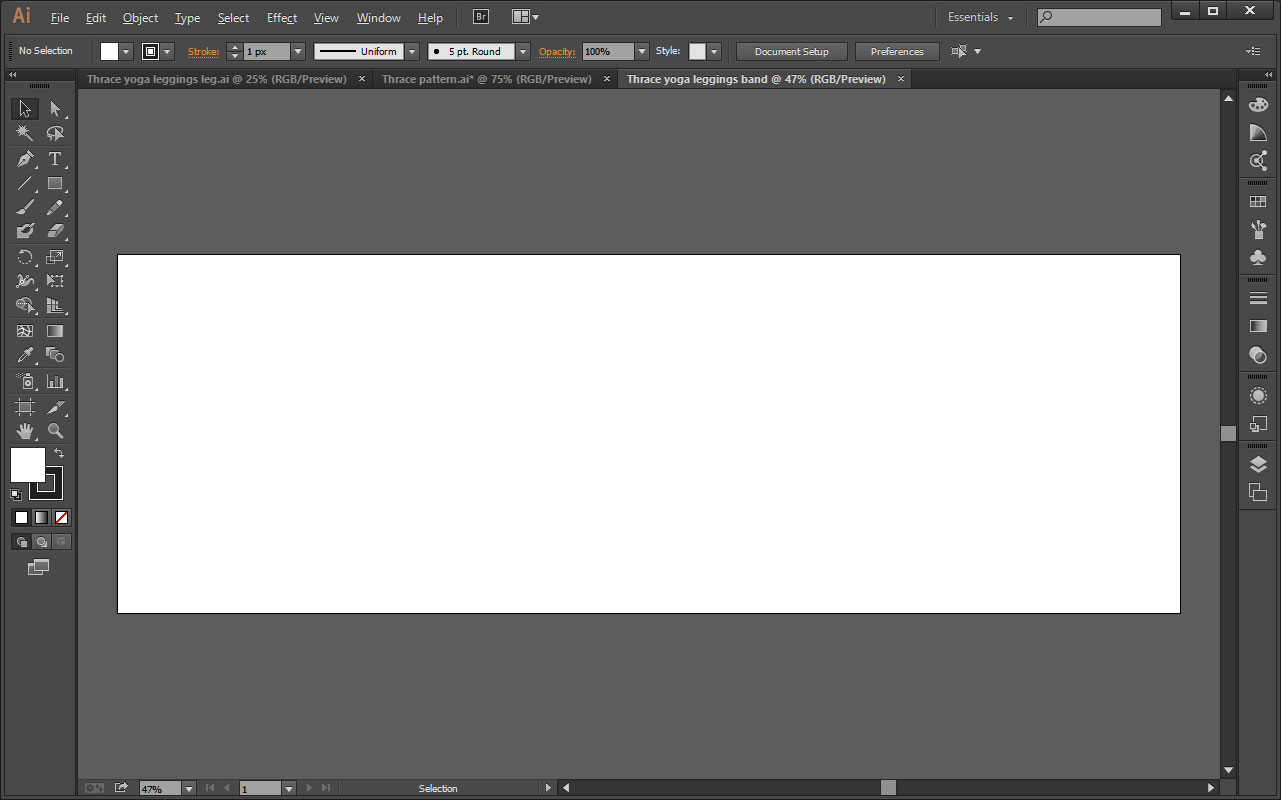
You now have a blank artboard to work with. Select file again, and select open.

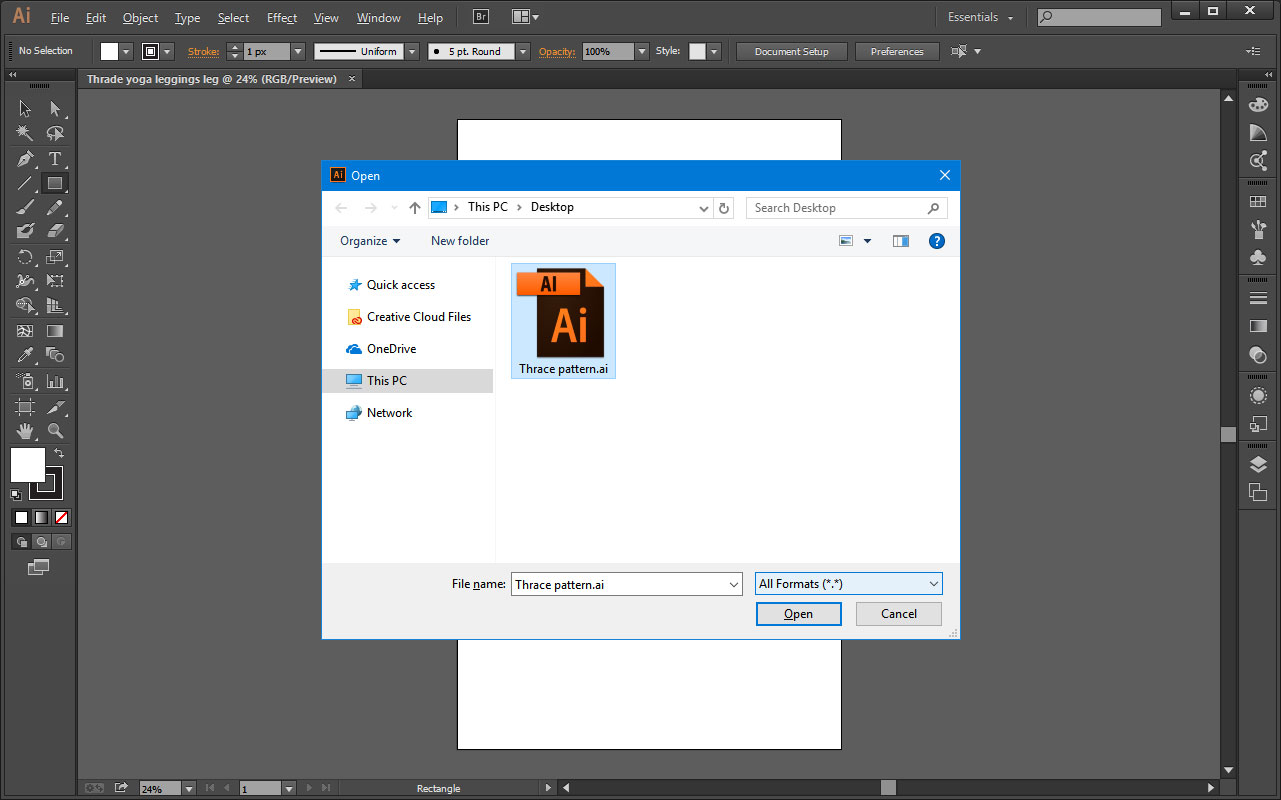
Go to file, and select open.
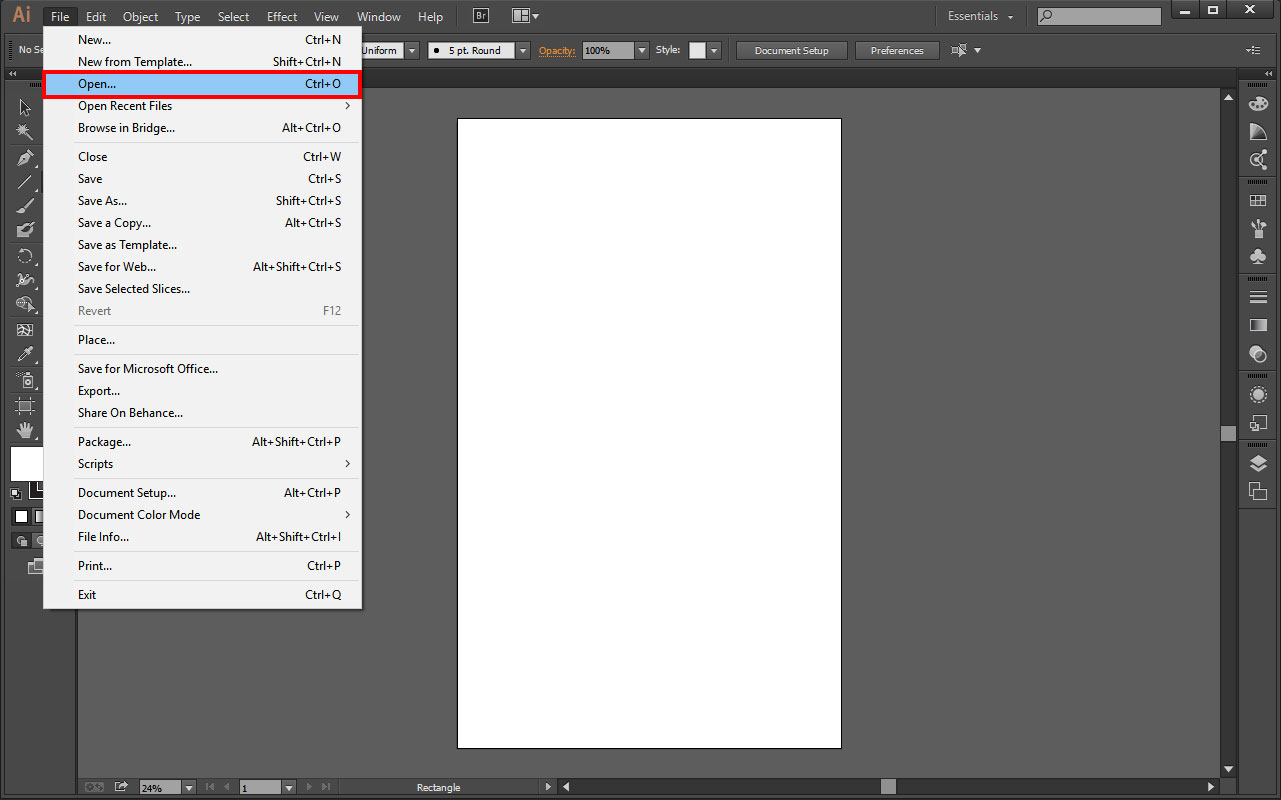
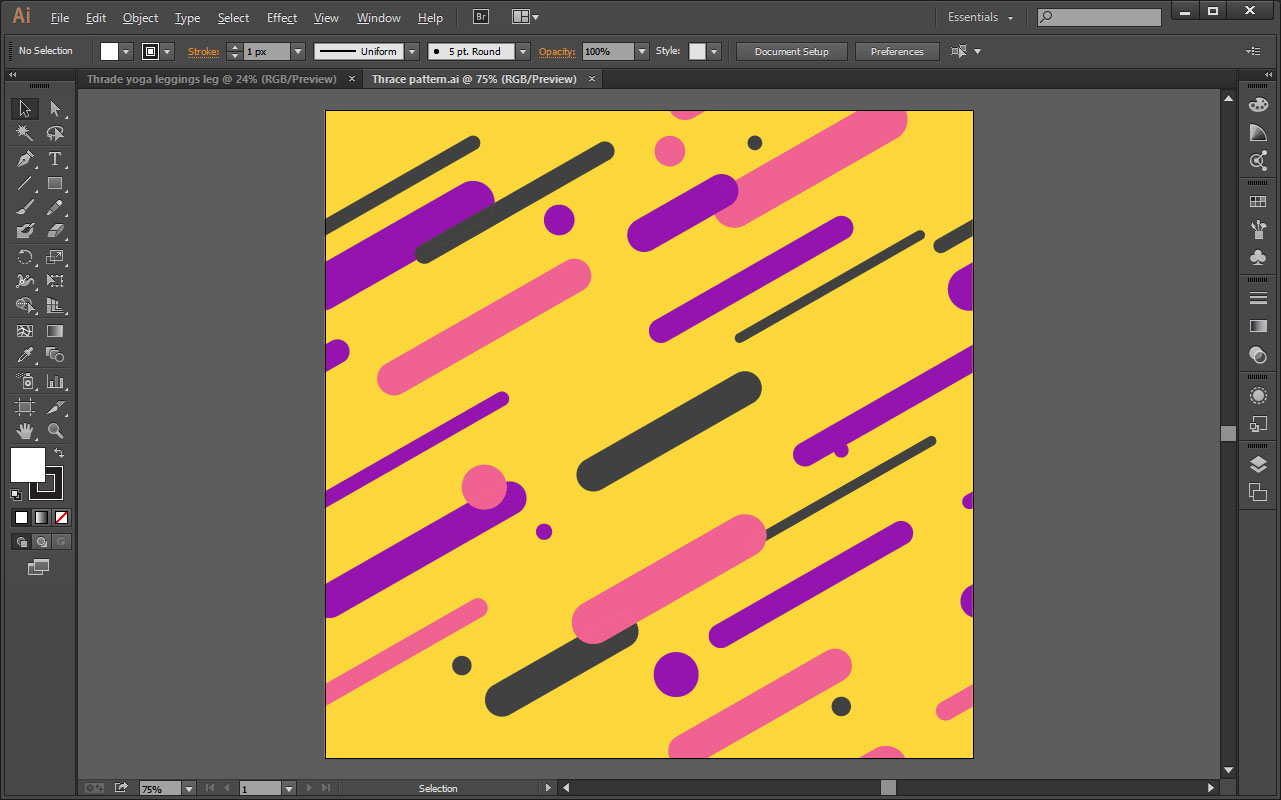
Select the image you want to work with.
The selected image will open in another tab in AI.
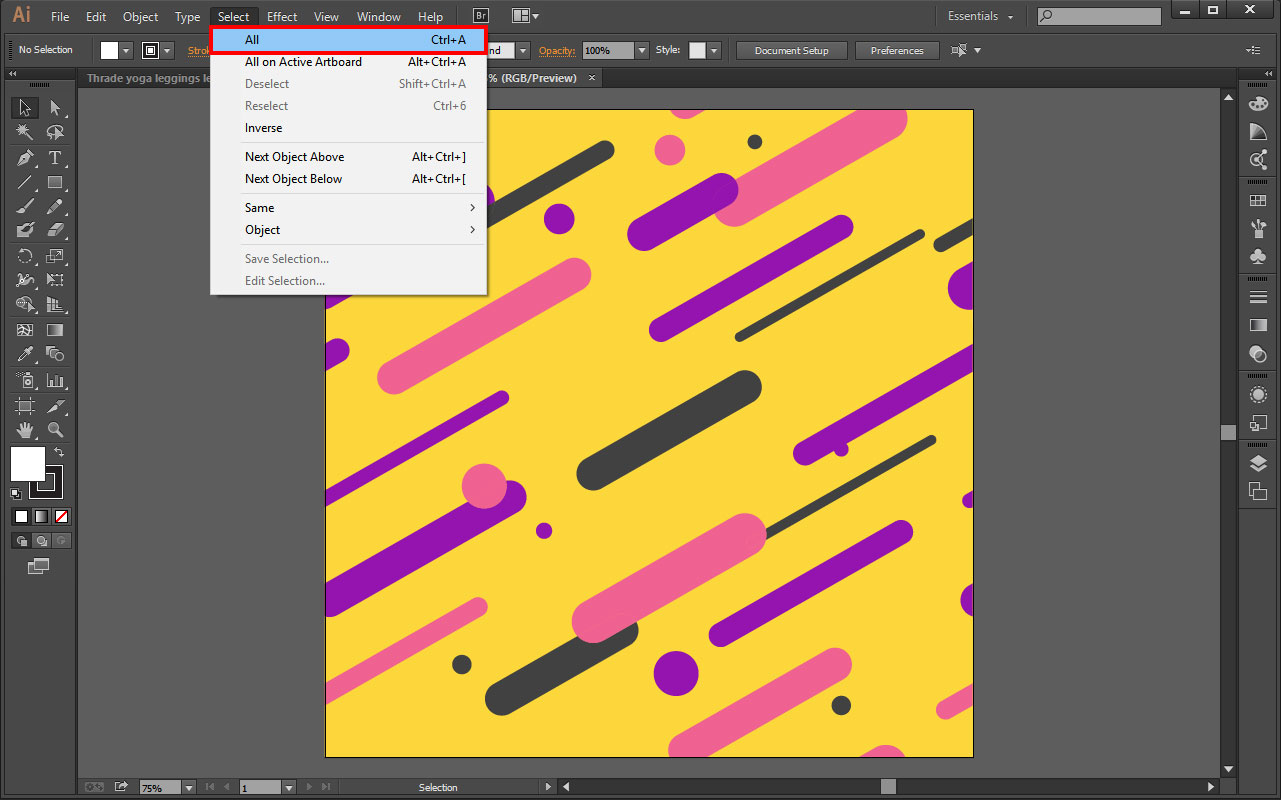
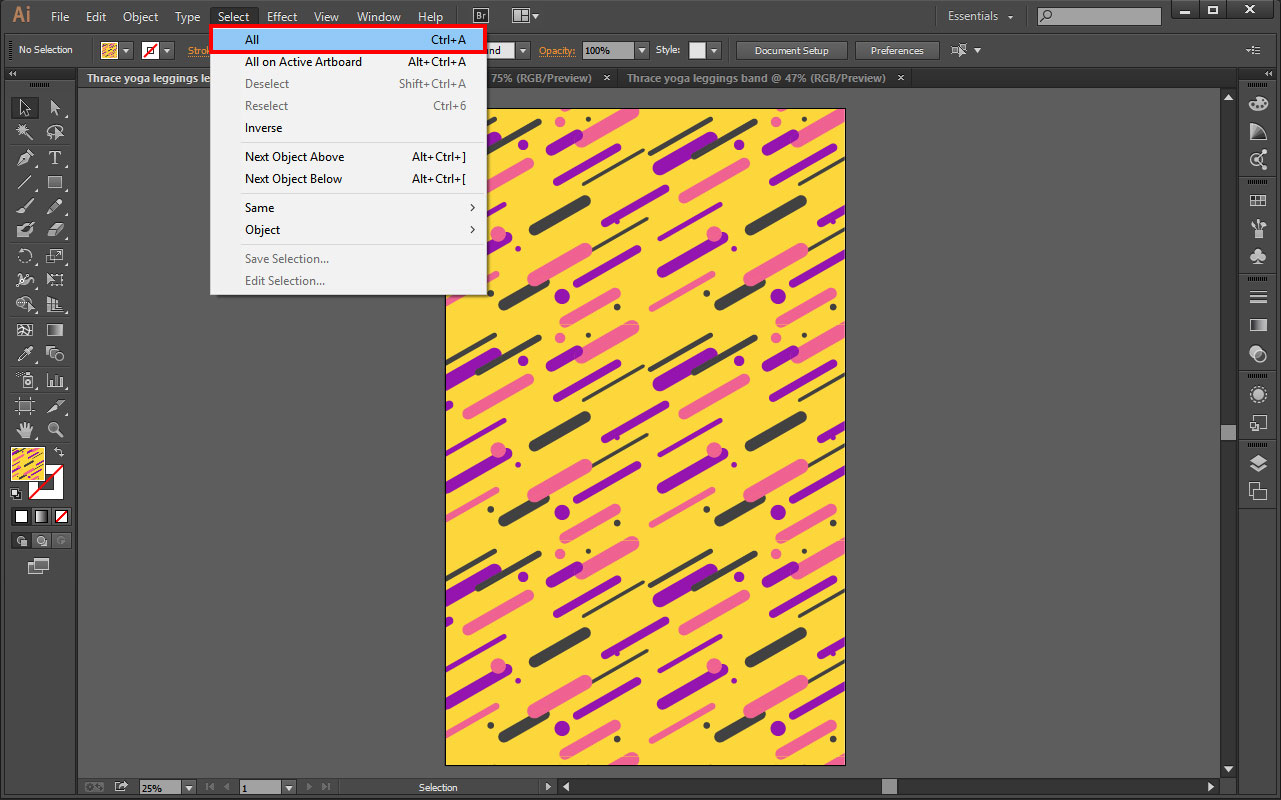
In that same tab, select All, which selects the whole image.
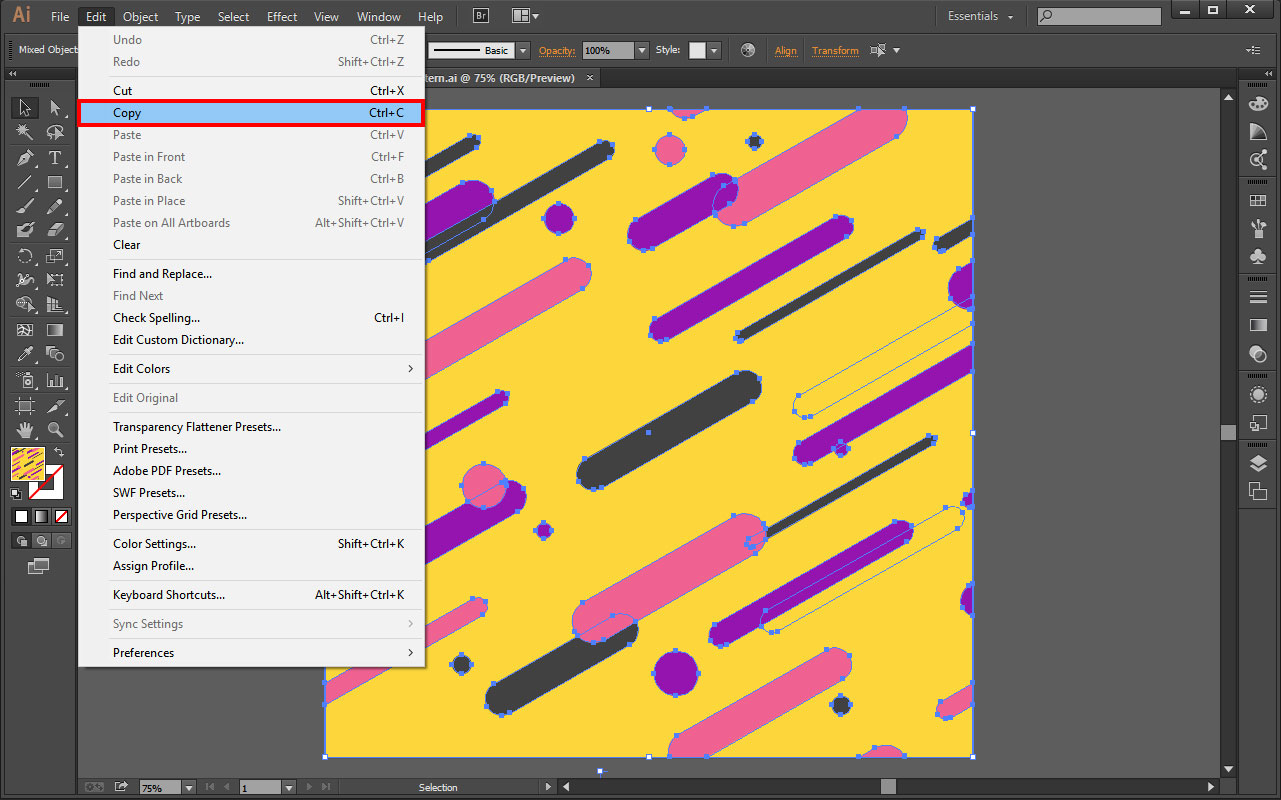
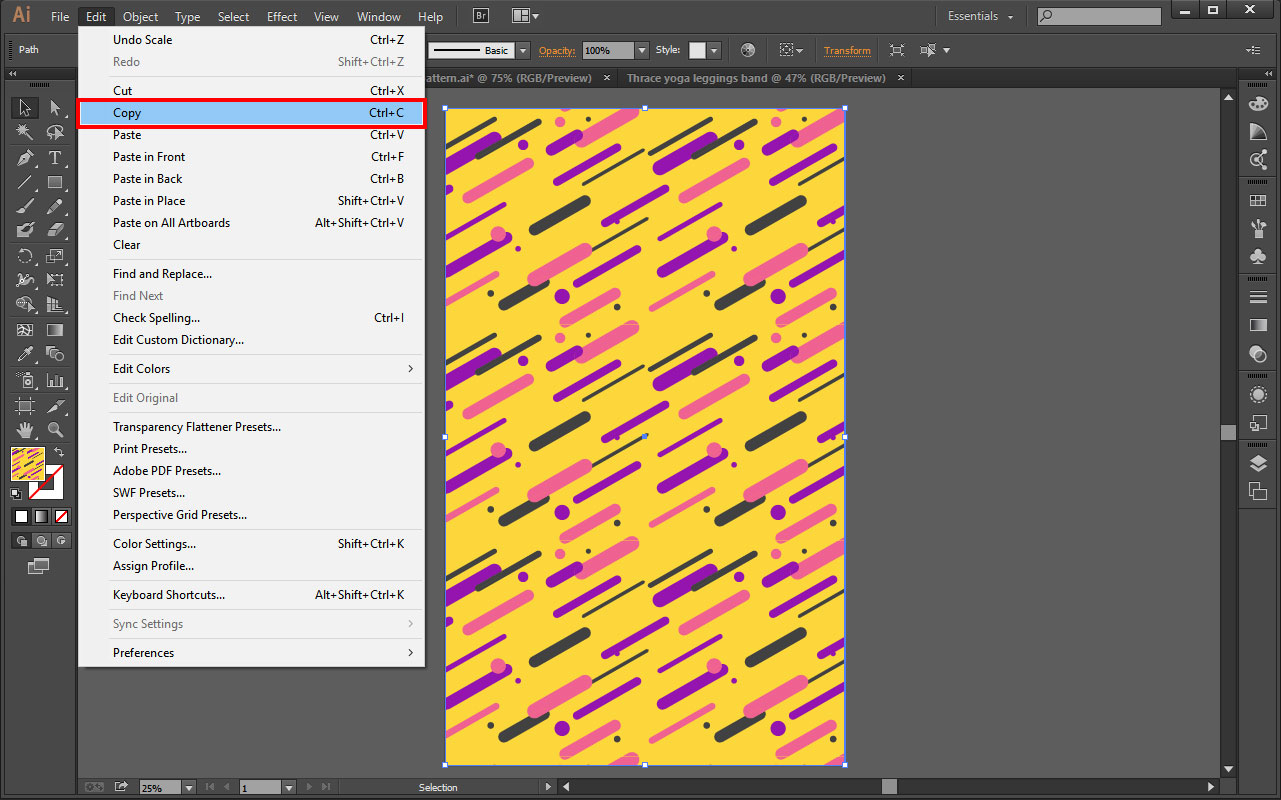
Select Edit, and then select Copy.
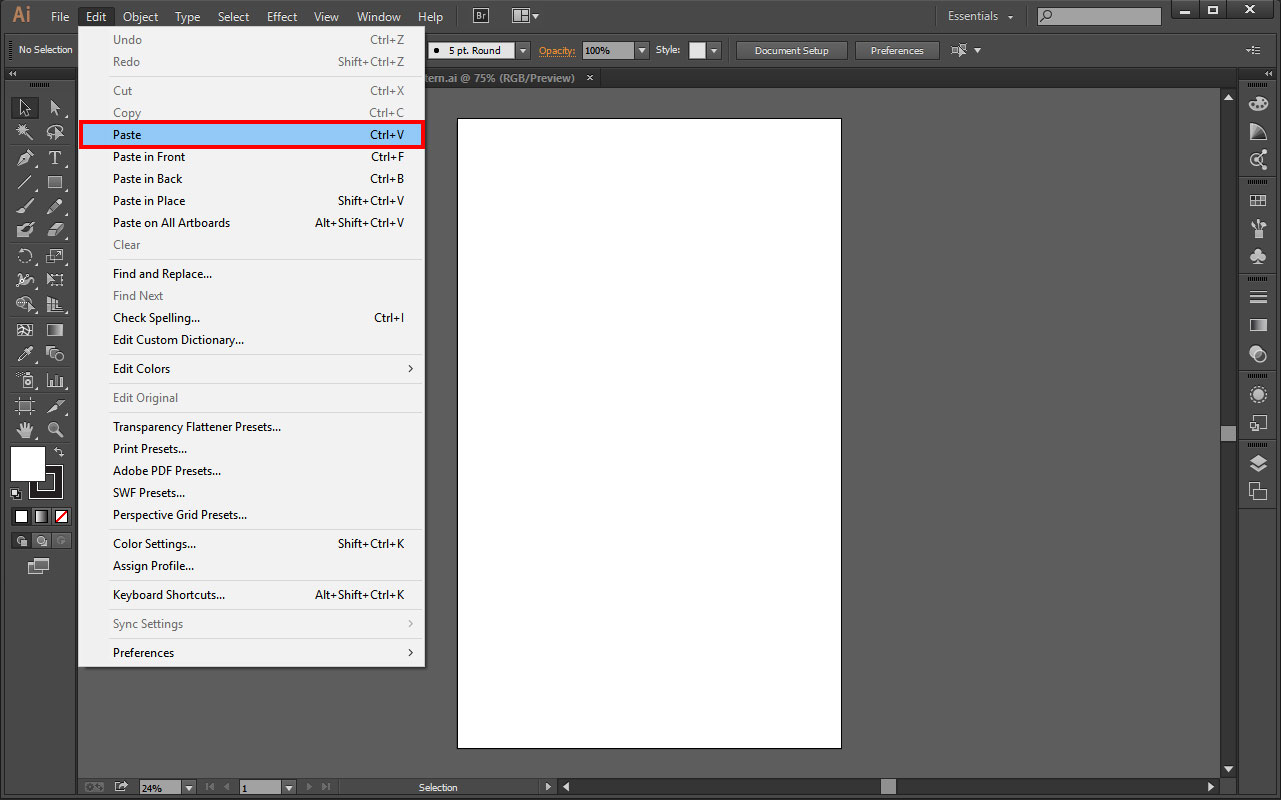
Go back to the previous tab, where you have your blank file and select edit, then paste.
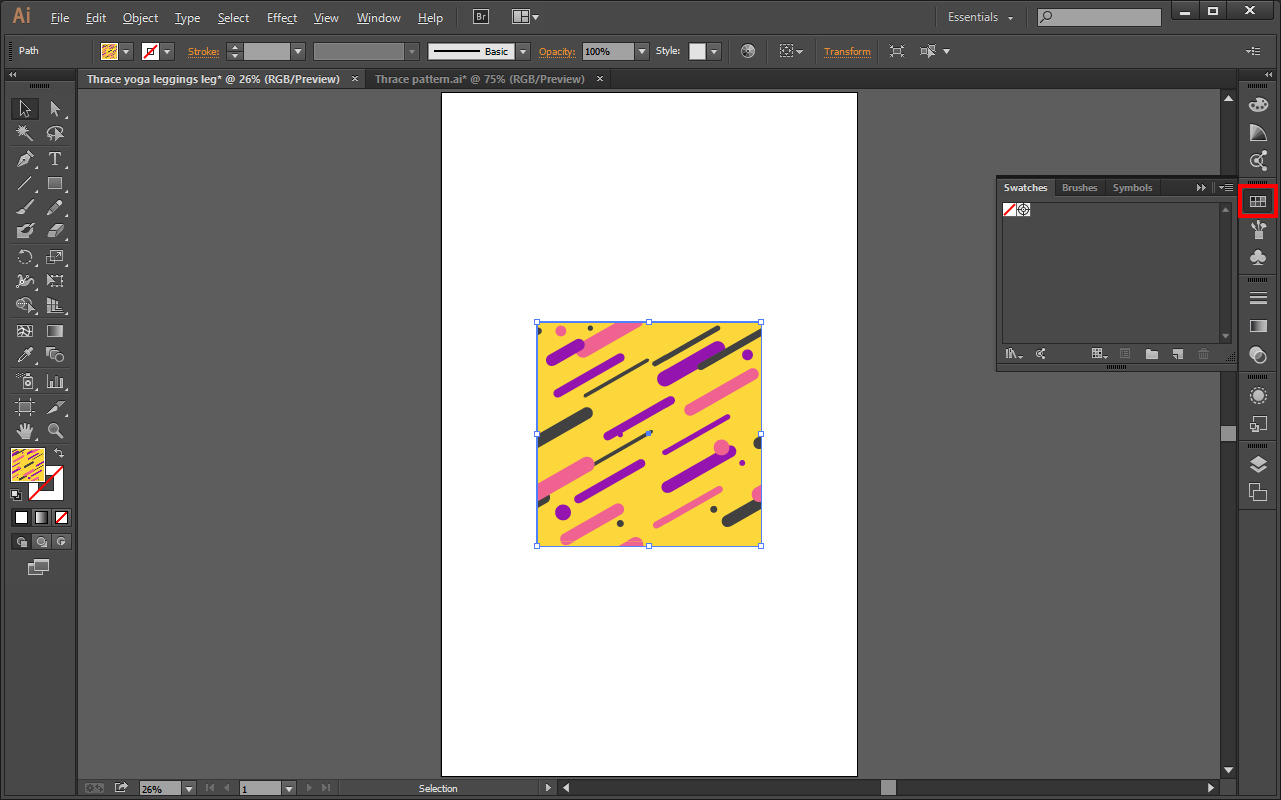
Make sure your image is selected, then open your swatches panel on the right side.
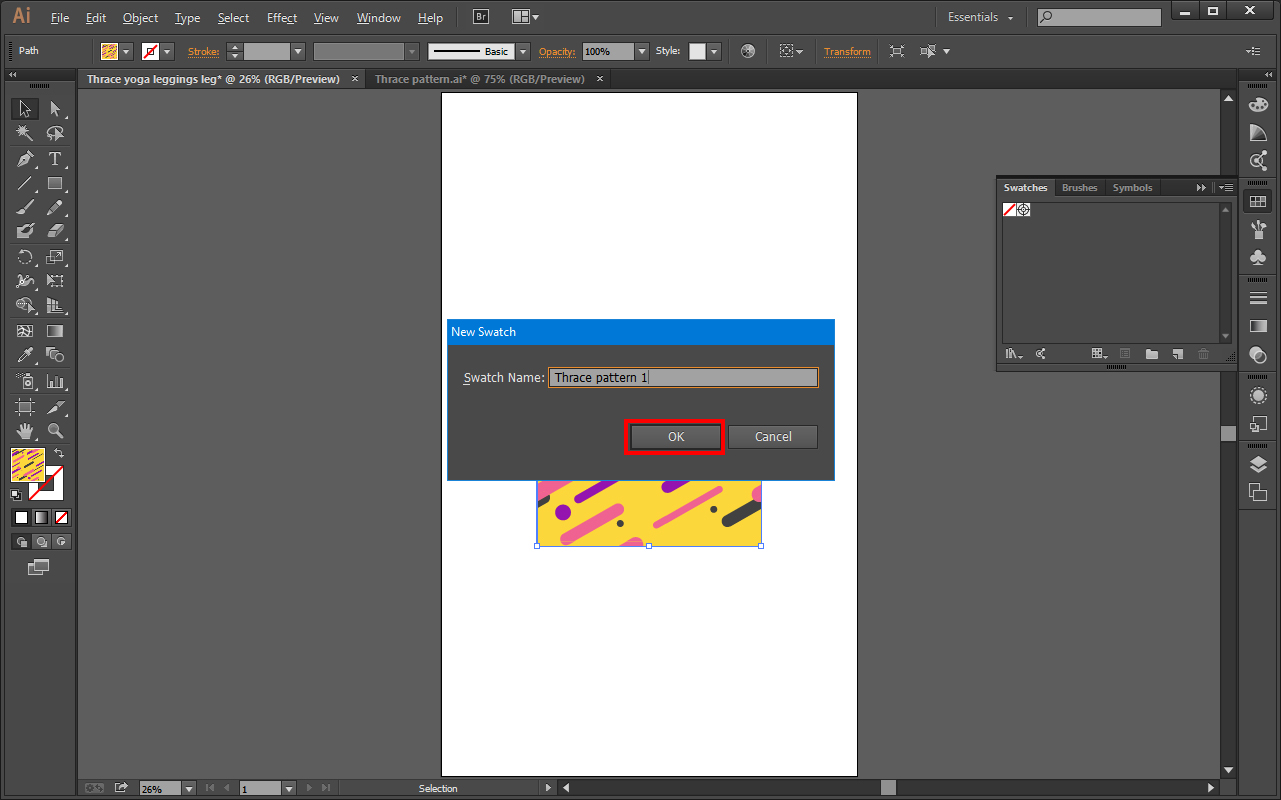
Click the button on the top right of the swatches box (looks like 3 horizontal parallel lines), and click new swatch.
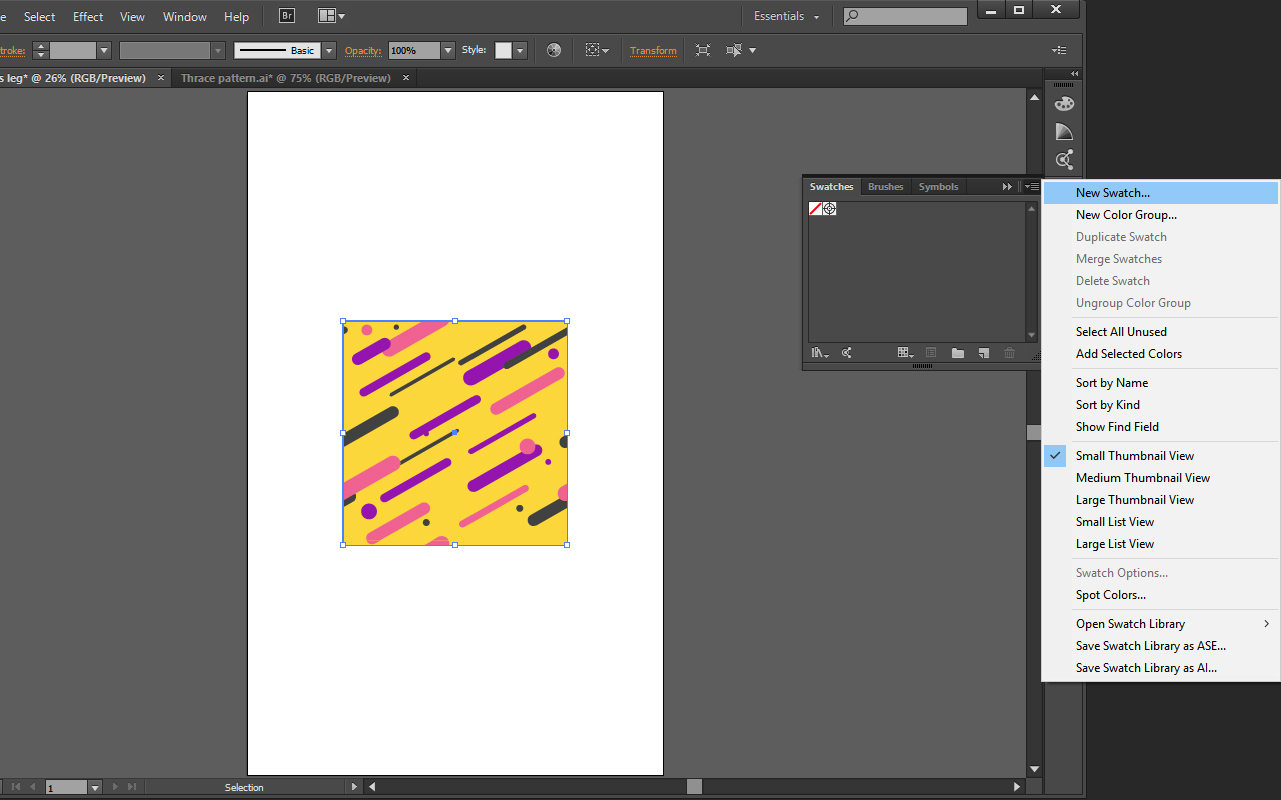
Name your swatch and click OK.
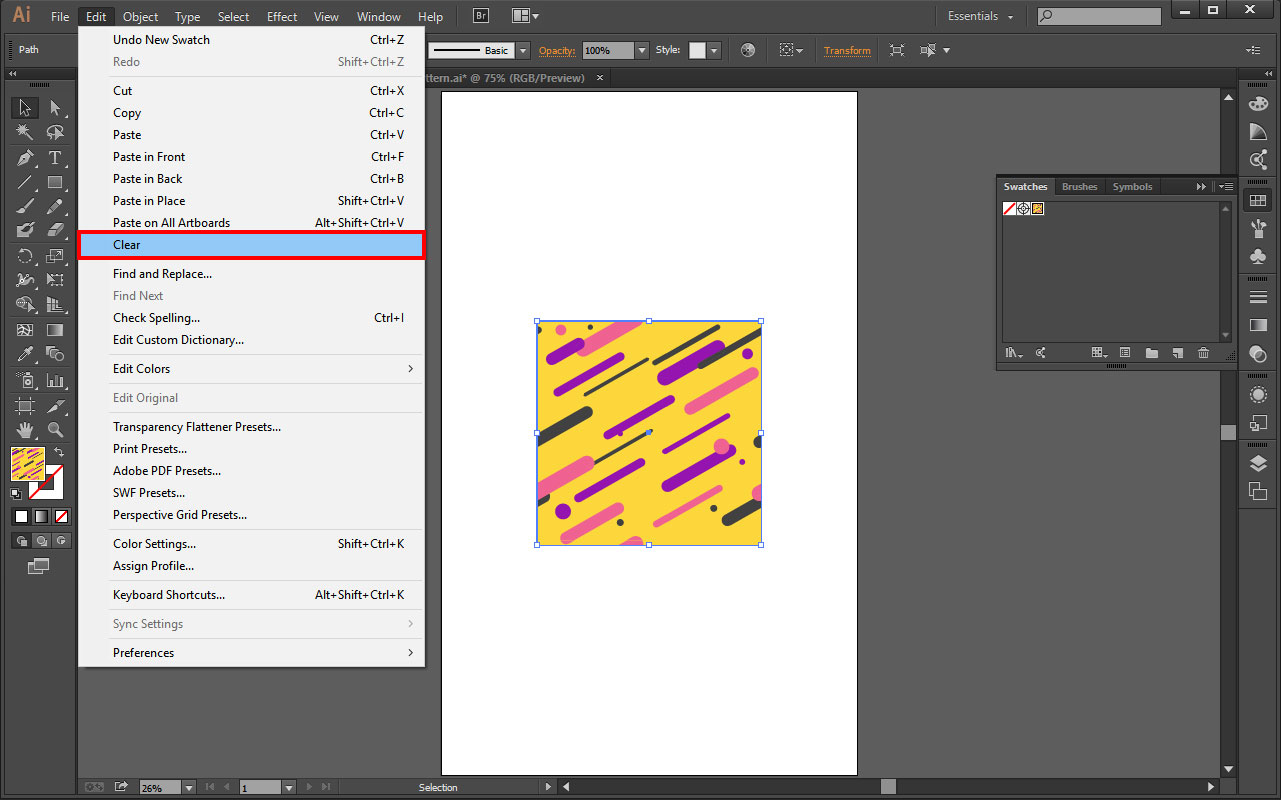
Select edit, then select clear.
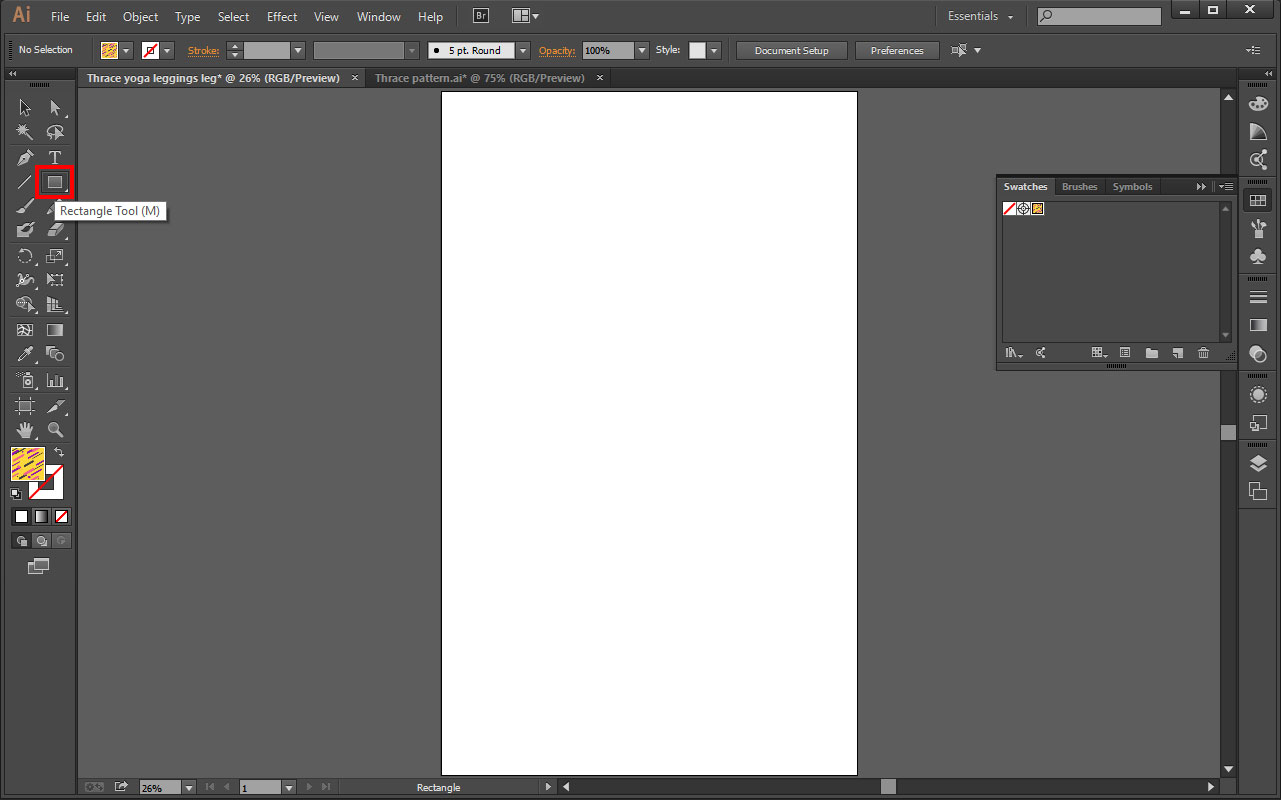
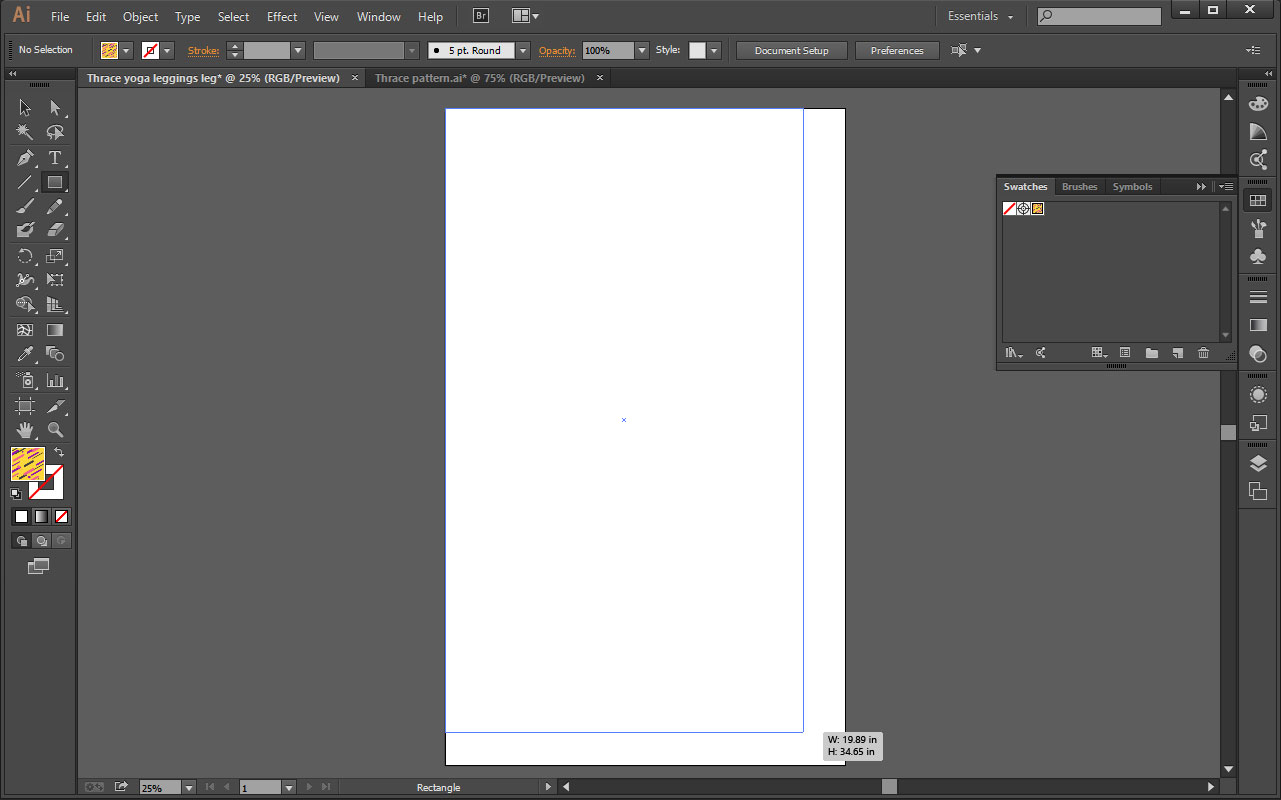
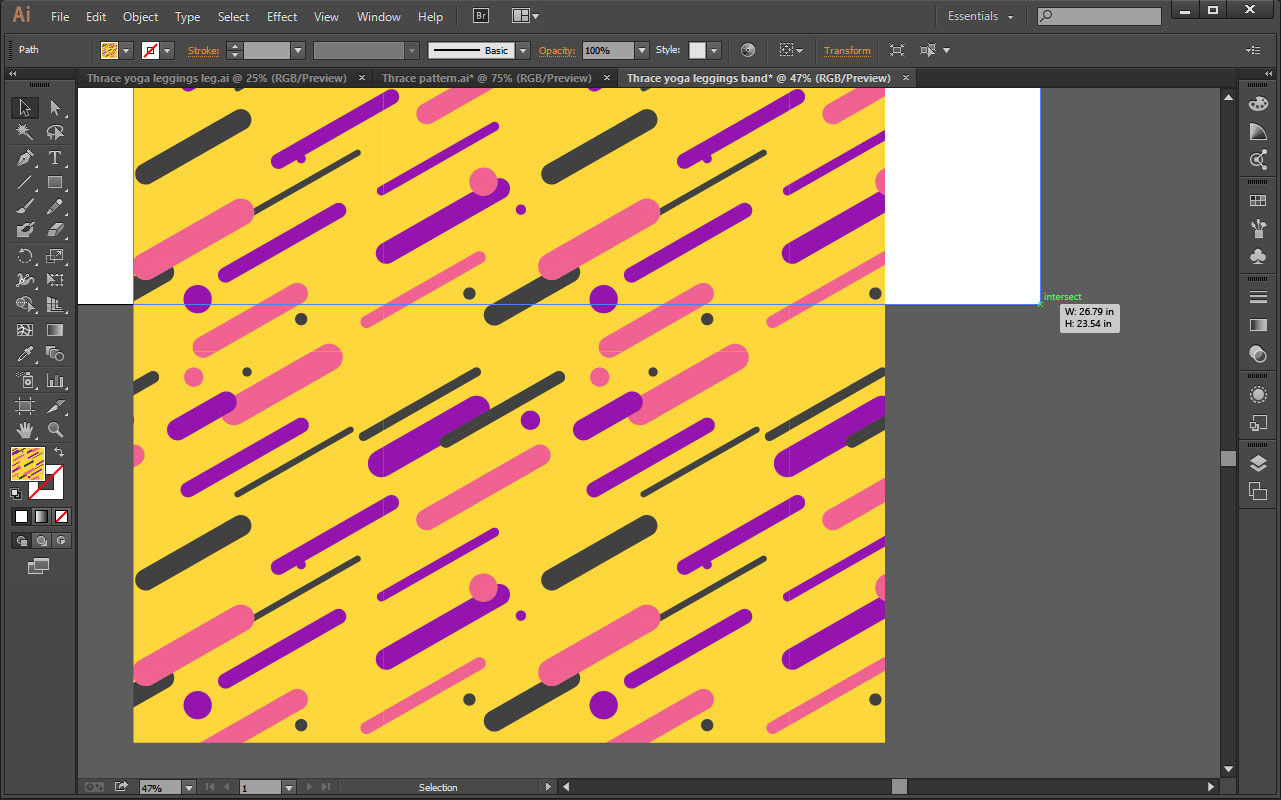
Go to your left side tool menu and select the rectangle tool.
Go to the top left corner of your artboard.
Select and drag to the bottom right corner, covering the whole artboard.
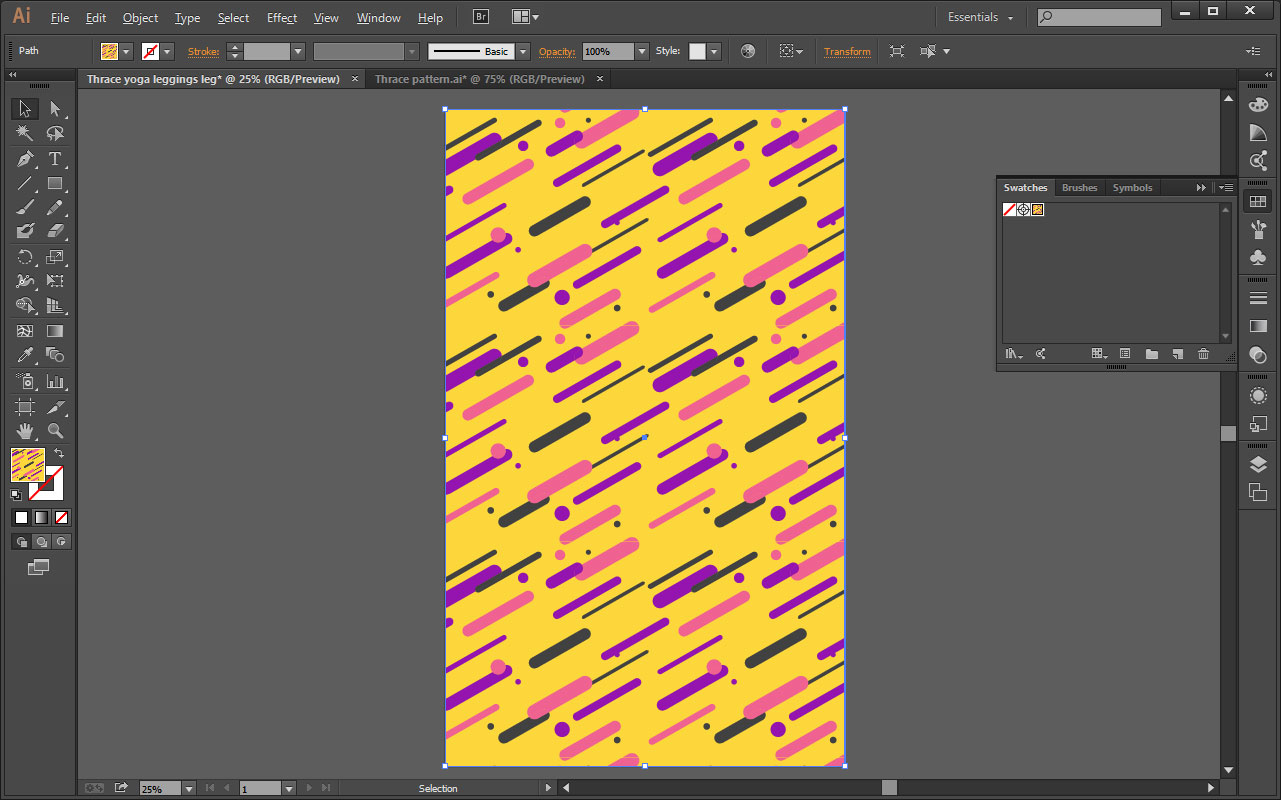
Now your blank artboard should be covered in a repeat of your design.
Select File, then Place.
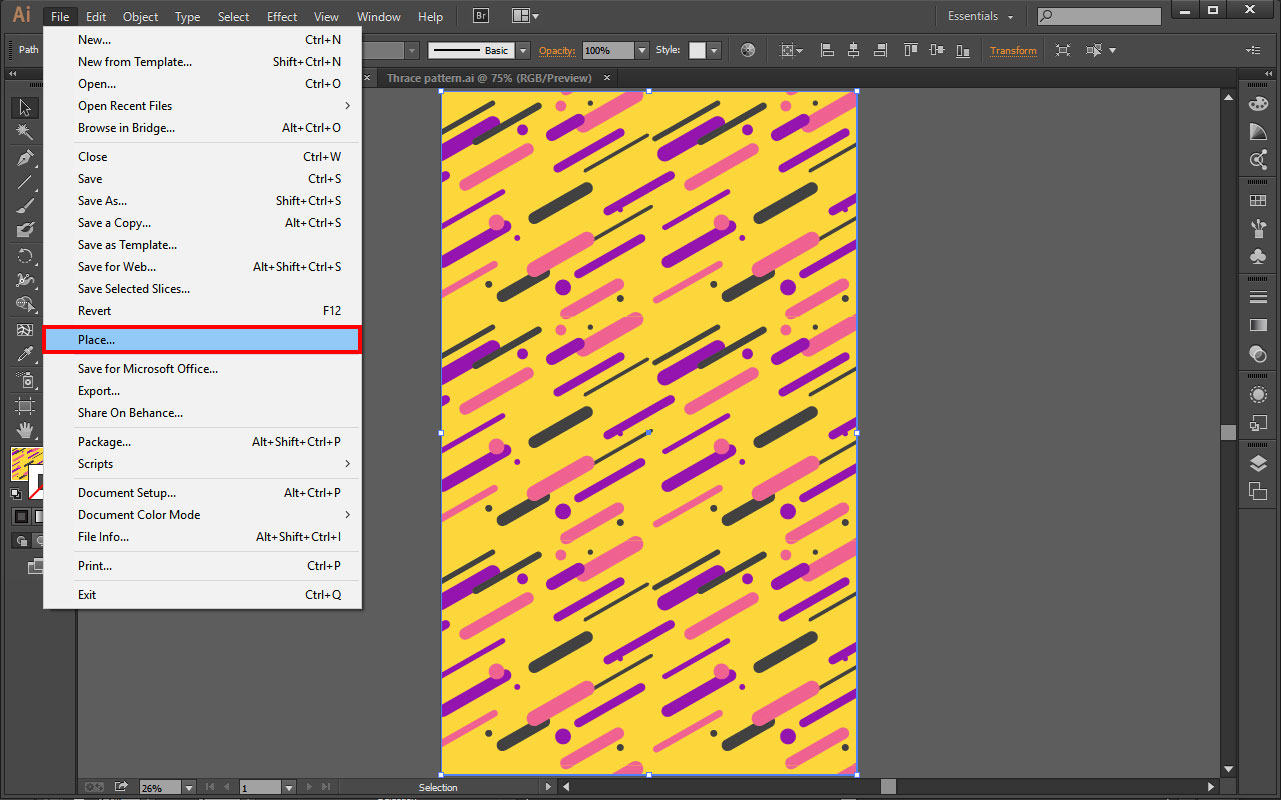
Another window will open up so you can select another file, such as your logo, and place it where you want it or align it perfectly by using the vertical align tool (outlined in red).
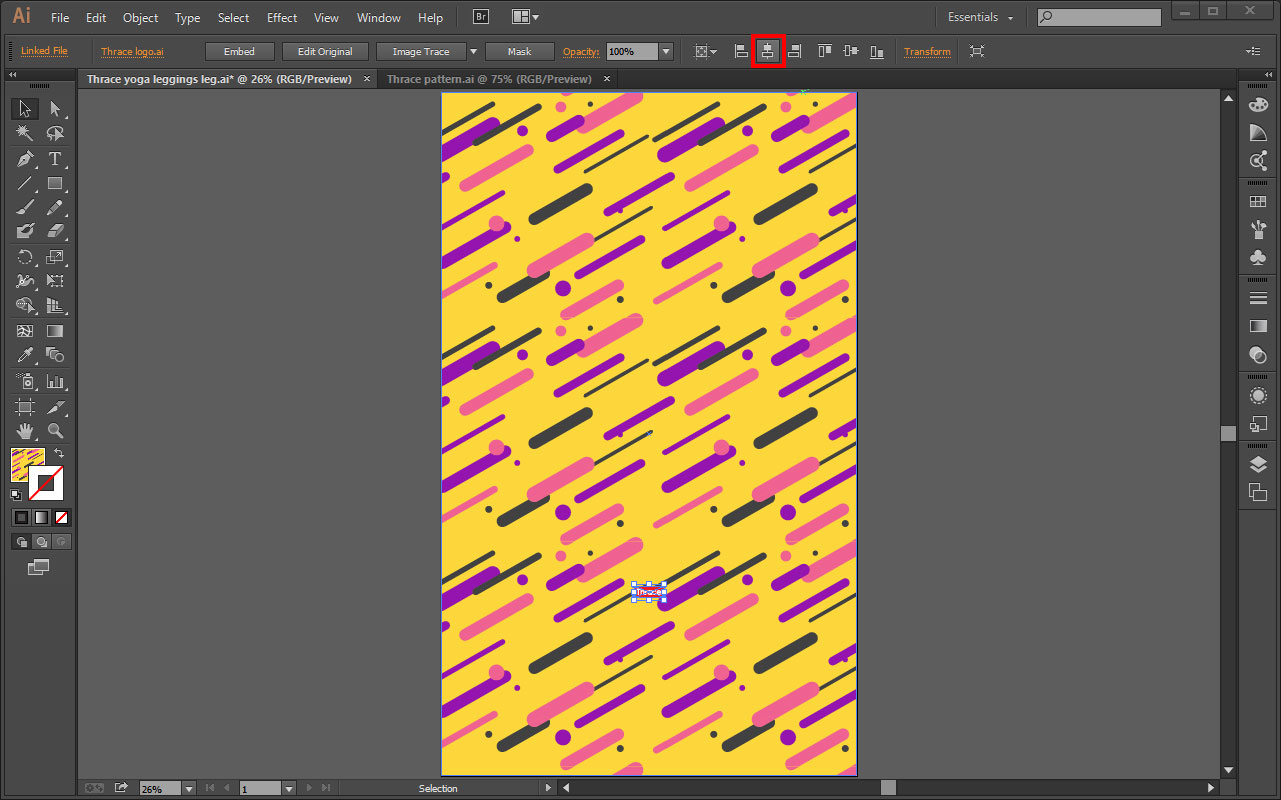
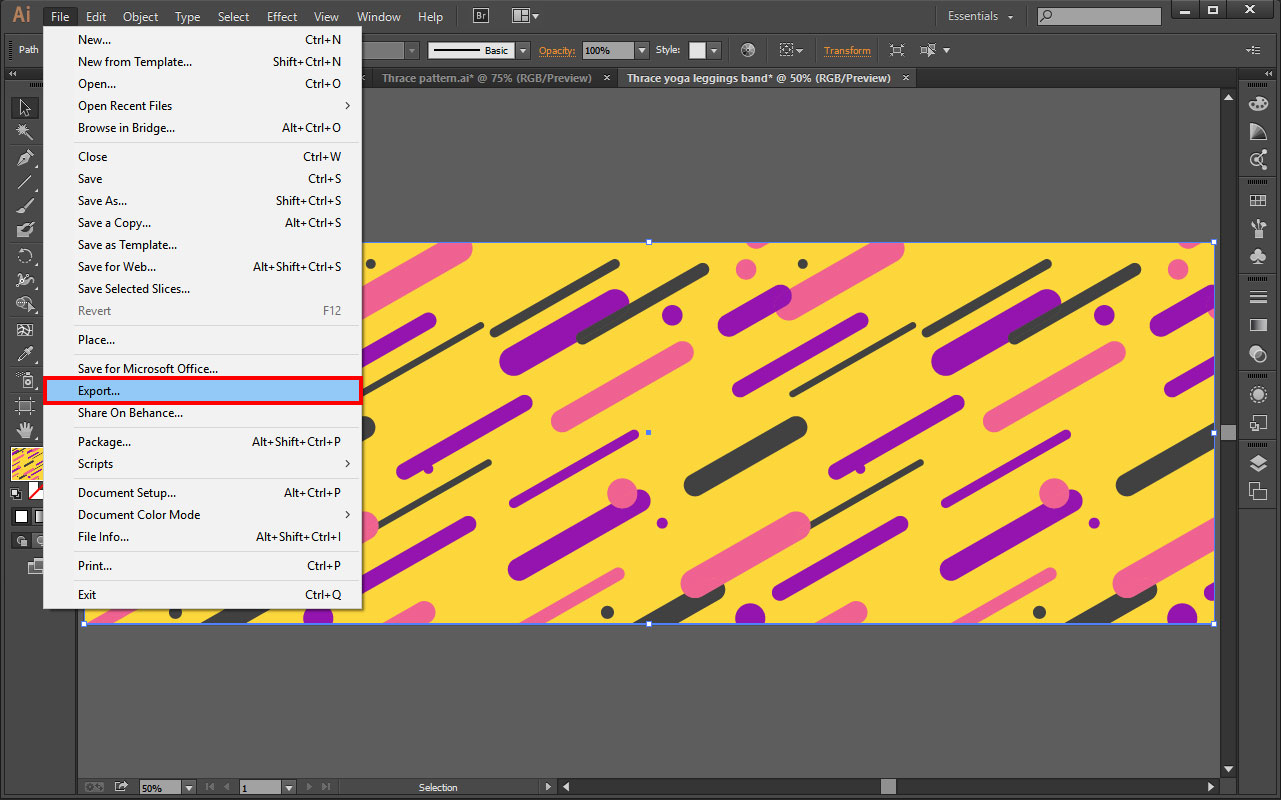
Once happy with your logo placement, go to File and select Export.
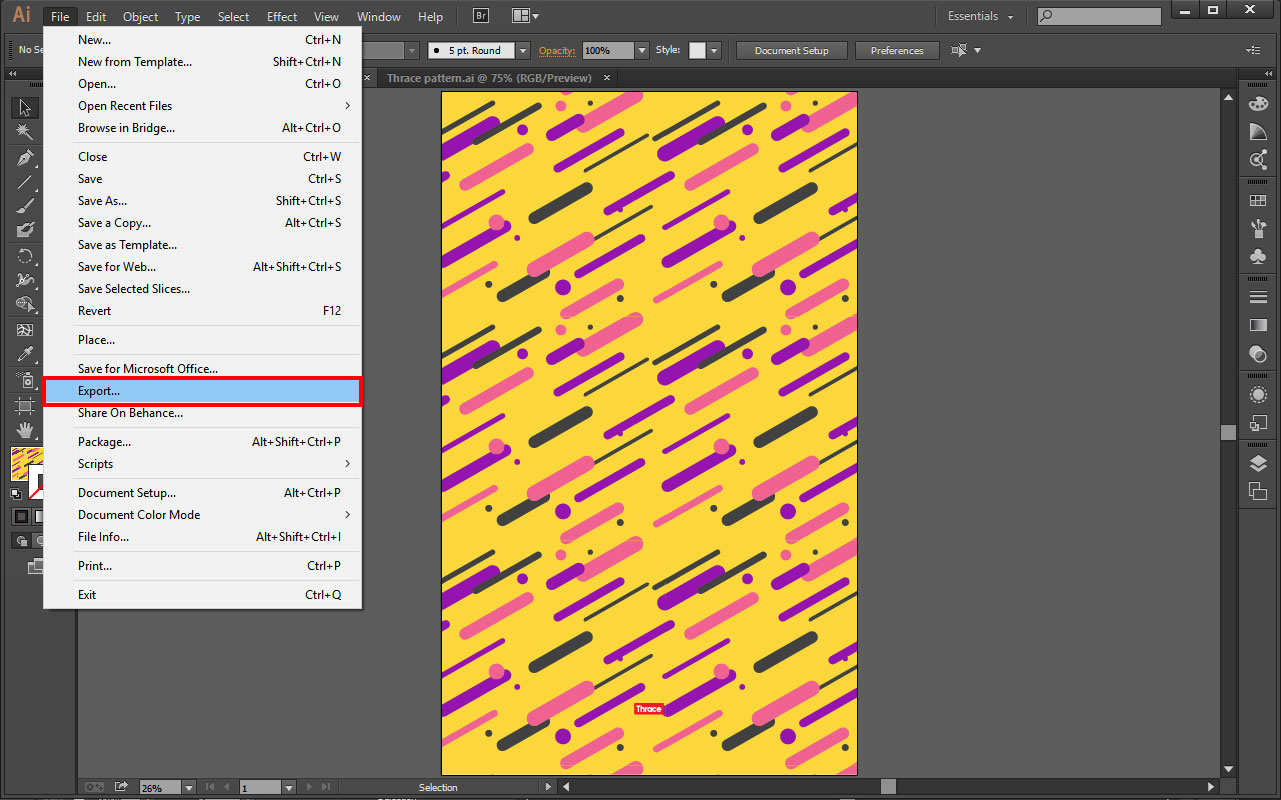
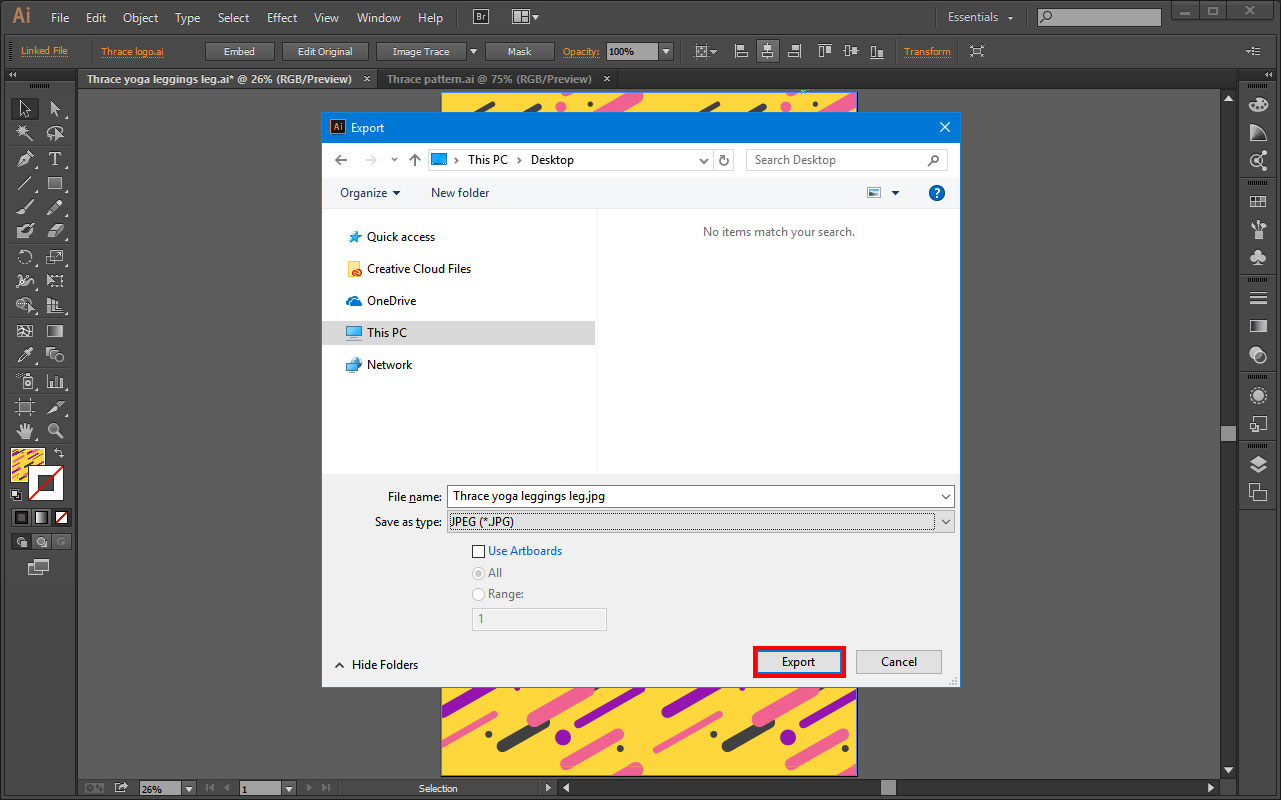
A window will open, and you can select the file type you want to use. For Art of Where, use a JPEG.
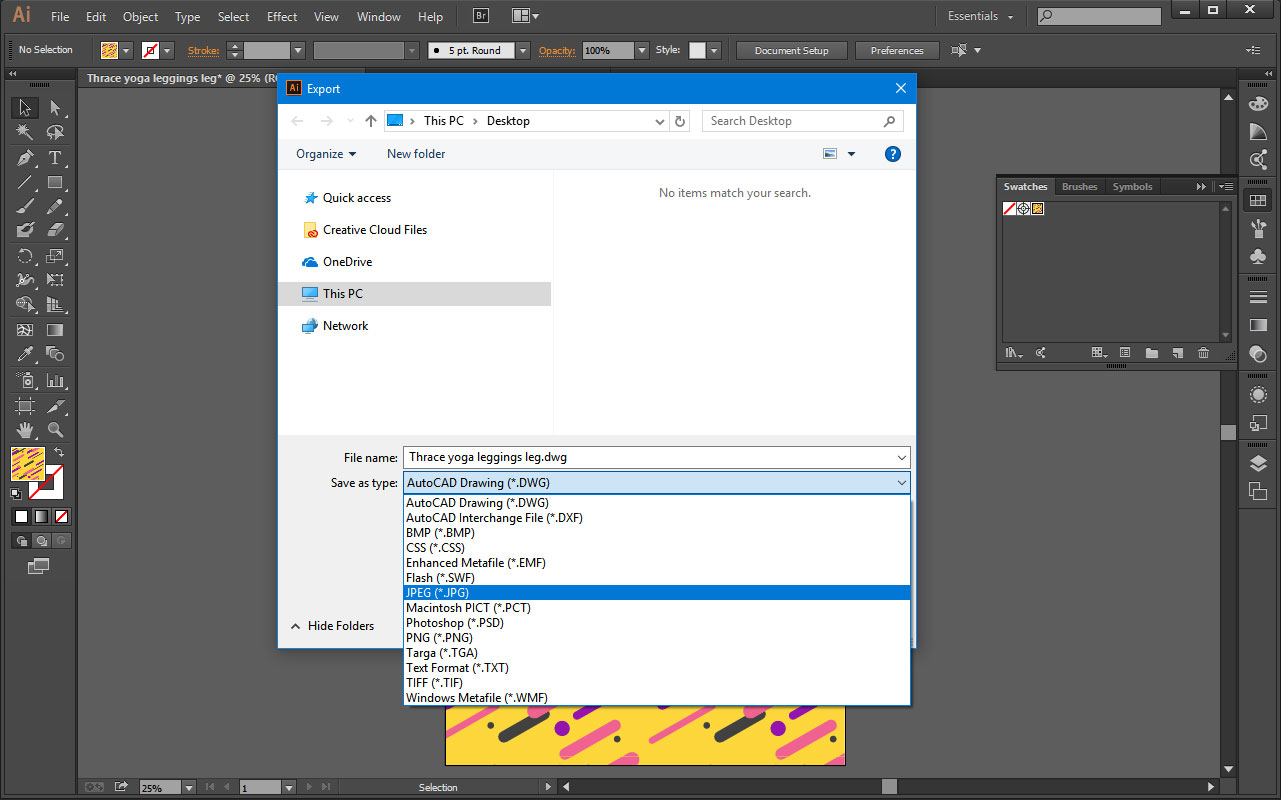
Select Export.
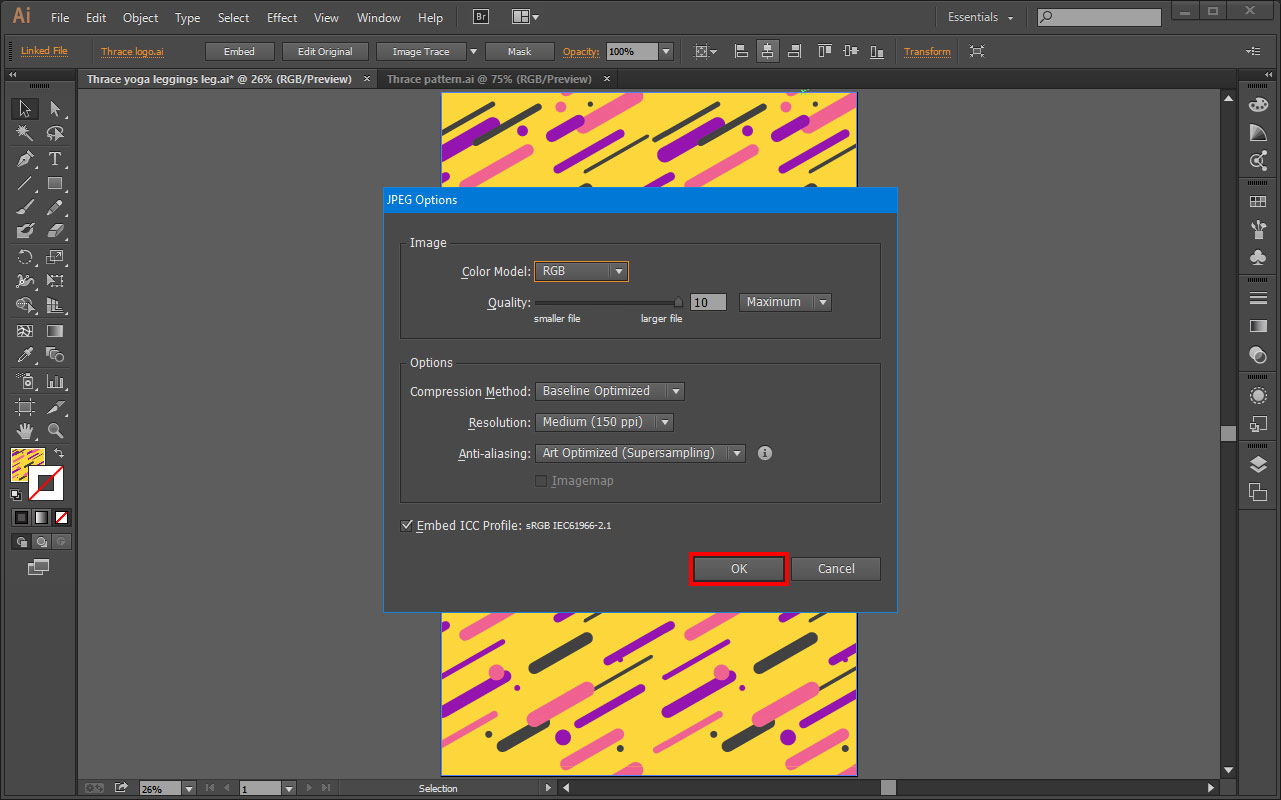
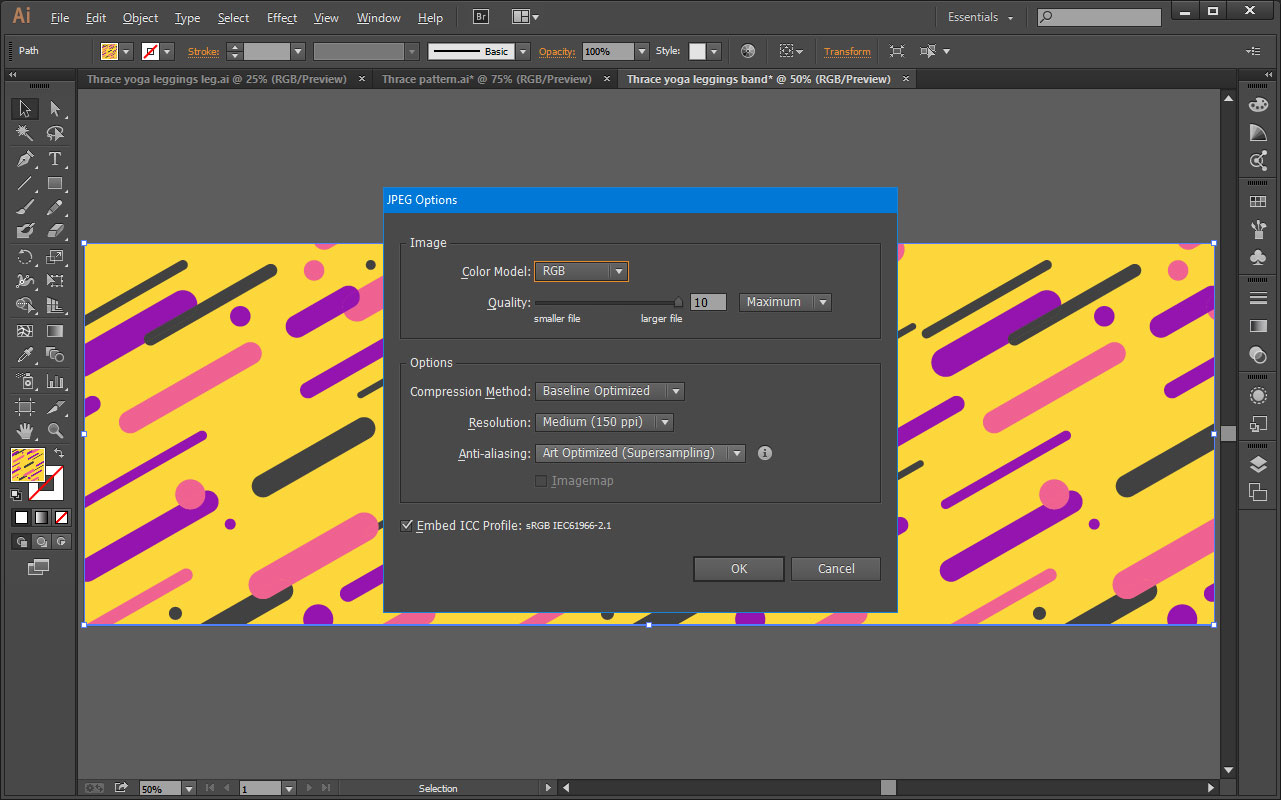
A JPEG options window will open. Make sure the color model is RGB, that the quality is at 10 (larger file), the DPI is 150, Anti-alasing should be set to Art Optimized, then select OK.
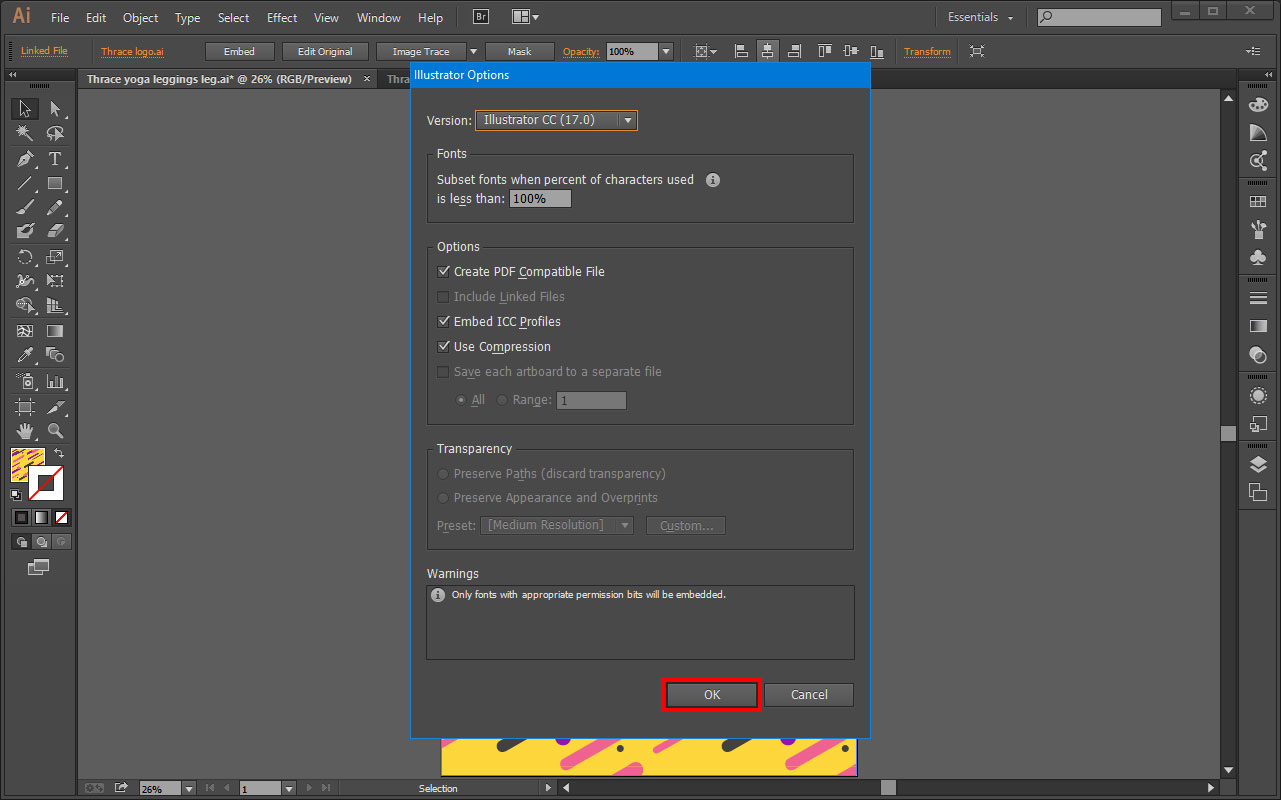
Select File, and then Save As.
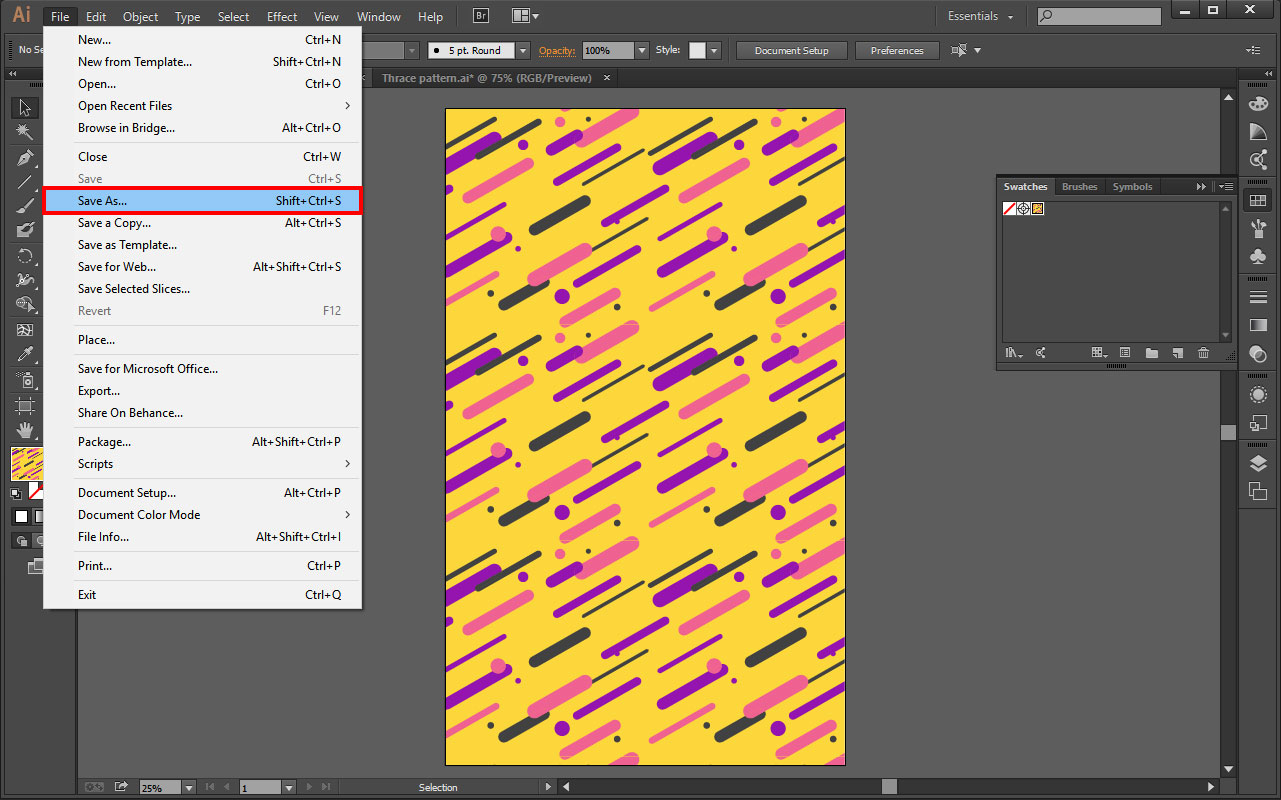
Click OK (default save settings are fine).
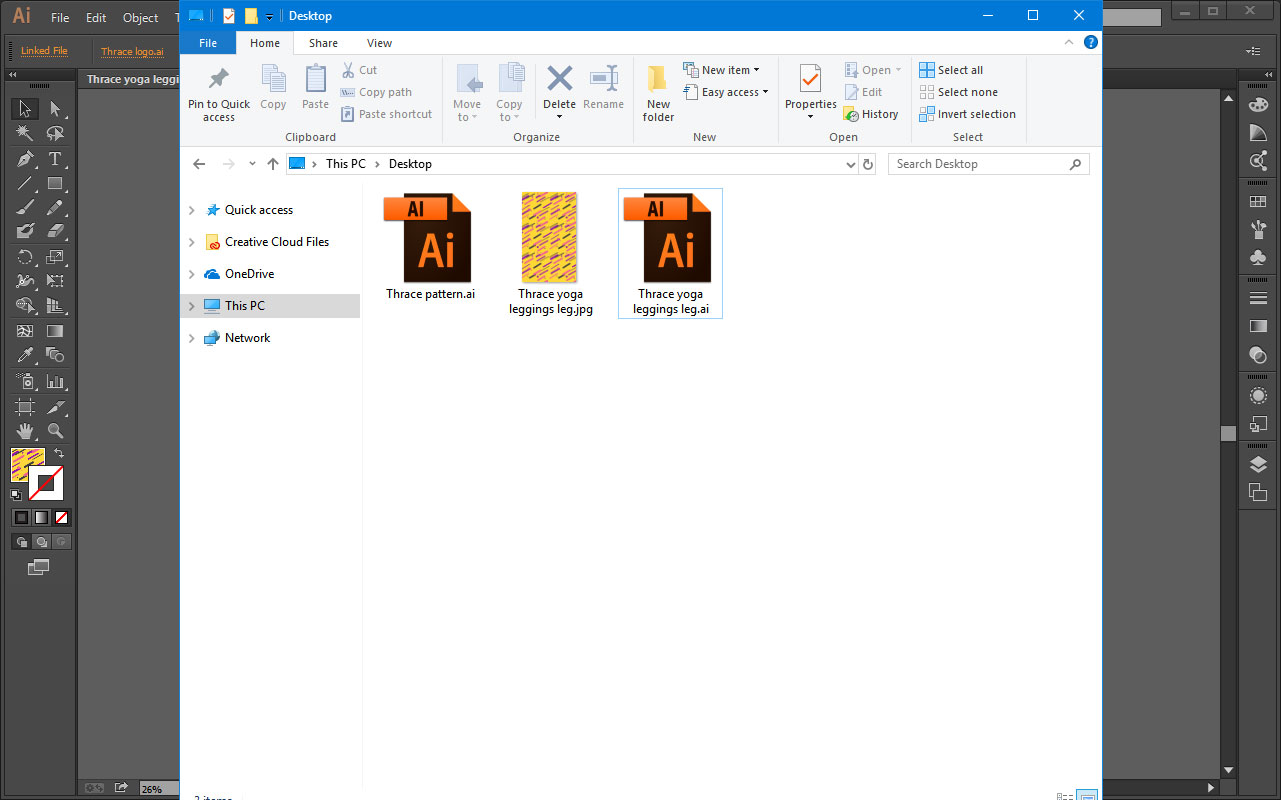
Choose where to save your file on your computer.
You're going to do the almost the exact same steps to make the yoga band image file.
Go back to the AOW design guidelines and note the file size required for the band of the yoga leggings.

As above, select file, then new. Name your file, select custom size, enter the dimensions of the yoga band in inches (NOT pixels), make sure the colour mode is RGB and the DPI is 150.
You'll now have your blank artboard in the size needed.
Go back to your previous design tab, go to Select, and click All.
Go to Edit, and select Copy.
Go to your yoga band design tab, select Edit and click paste.
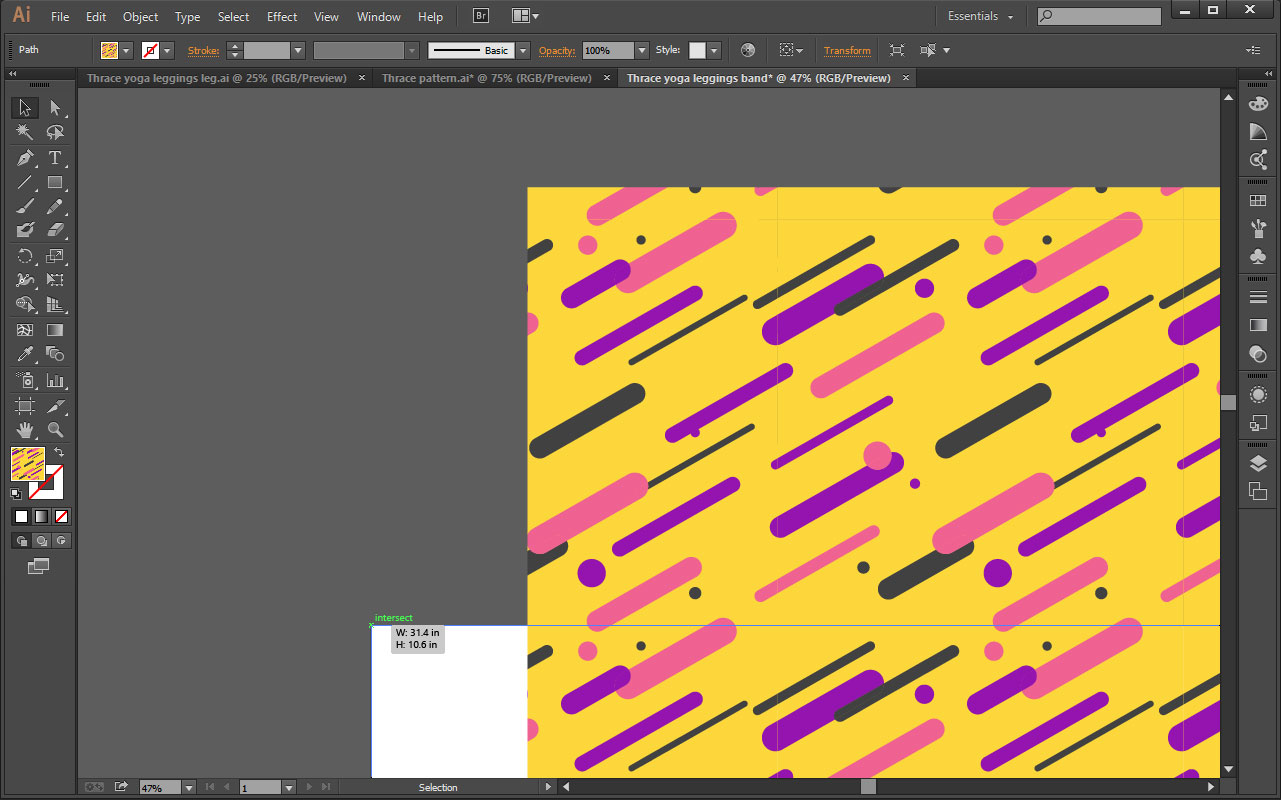
Your pasted image should now be selected. Click on the lower right corner of the pattern, and then drag it to fill the artboard towards the right.
Click the top left corner of the pattern and drag it to fill the artboard towards the left.
Go to file and select export.
Choose where you want to save the file on your computer, the file type (JPEG or PNG) and click Export.

A JPEG options window will open. Make sure the color model is RGB, that the quality is at 10 (larger file), the DPI is 150, Anti-alasing should be set to Art Optimized, then select OK.
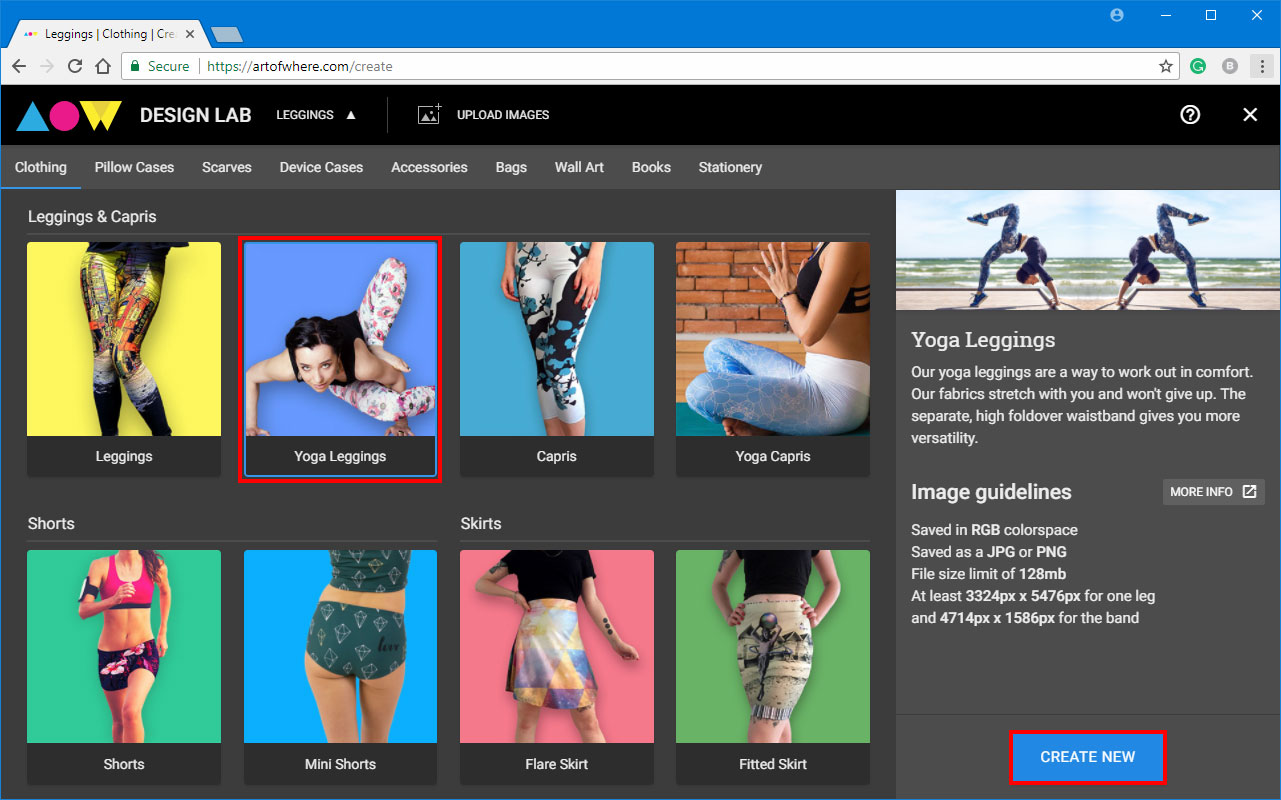
Go to the Art of Where design lab and select Yoga Leggings, then click the blue Create New button on the bottom right.
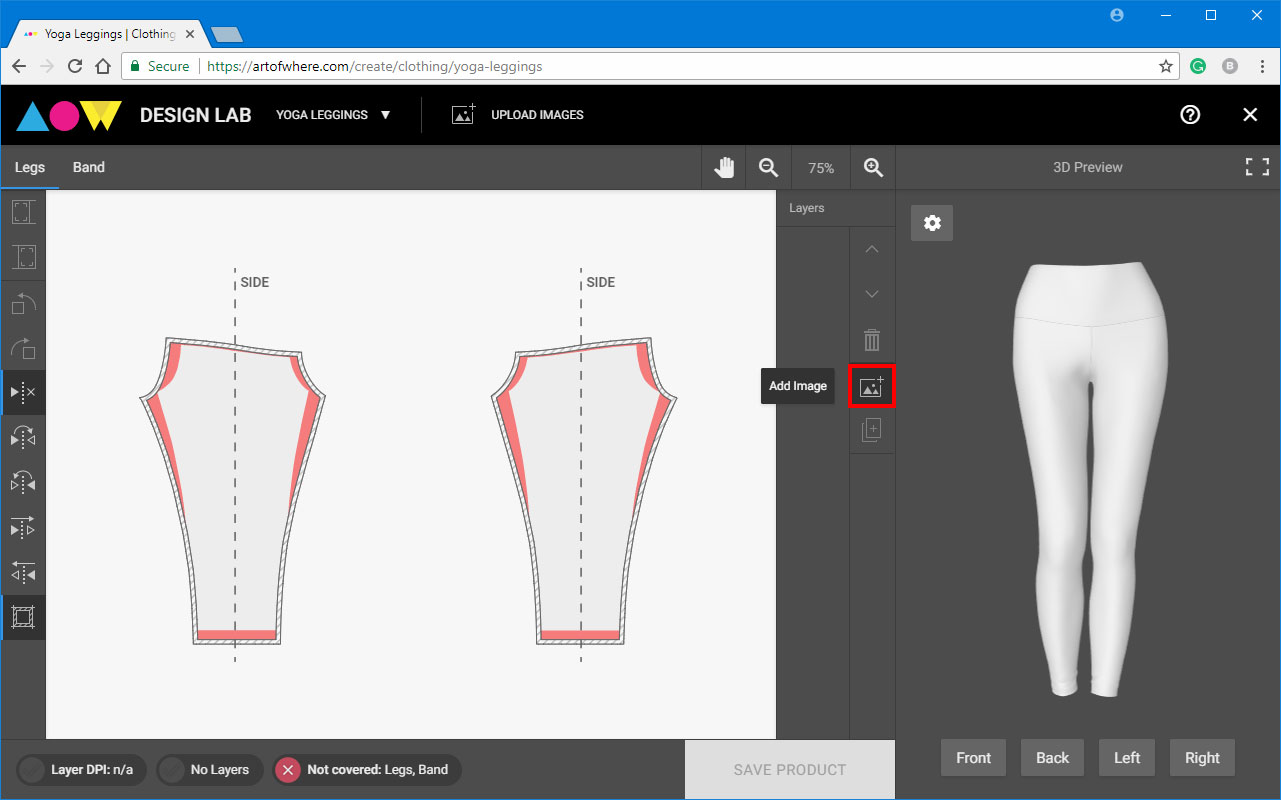
Select Add Image from the menu between the template and the 3D preview (or select Upload Images from the center top of the lab).
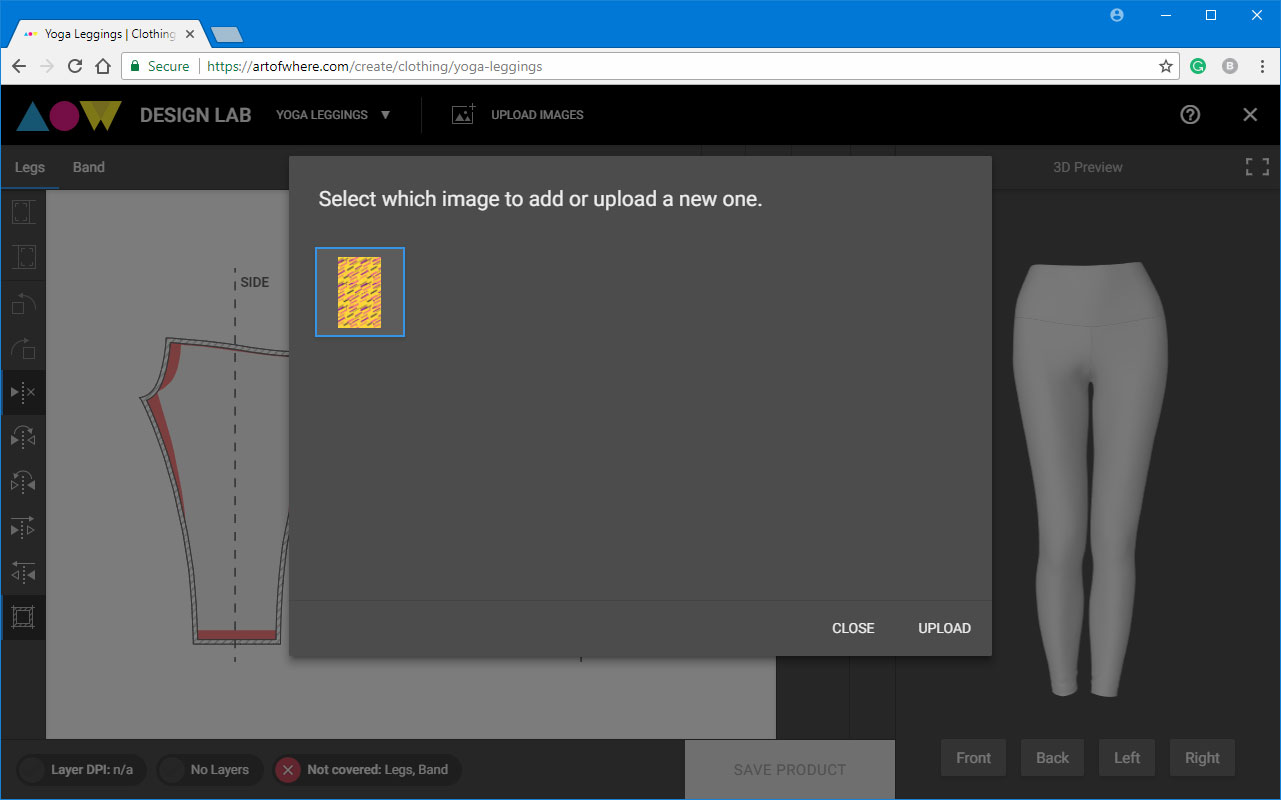
Select to upload the design file you created for the legs.

Select the design file you just uploaded.
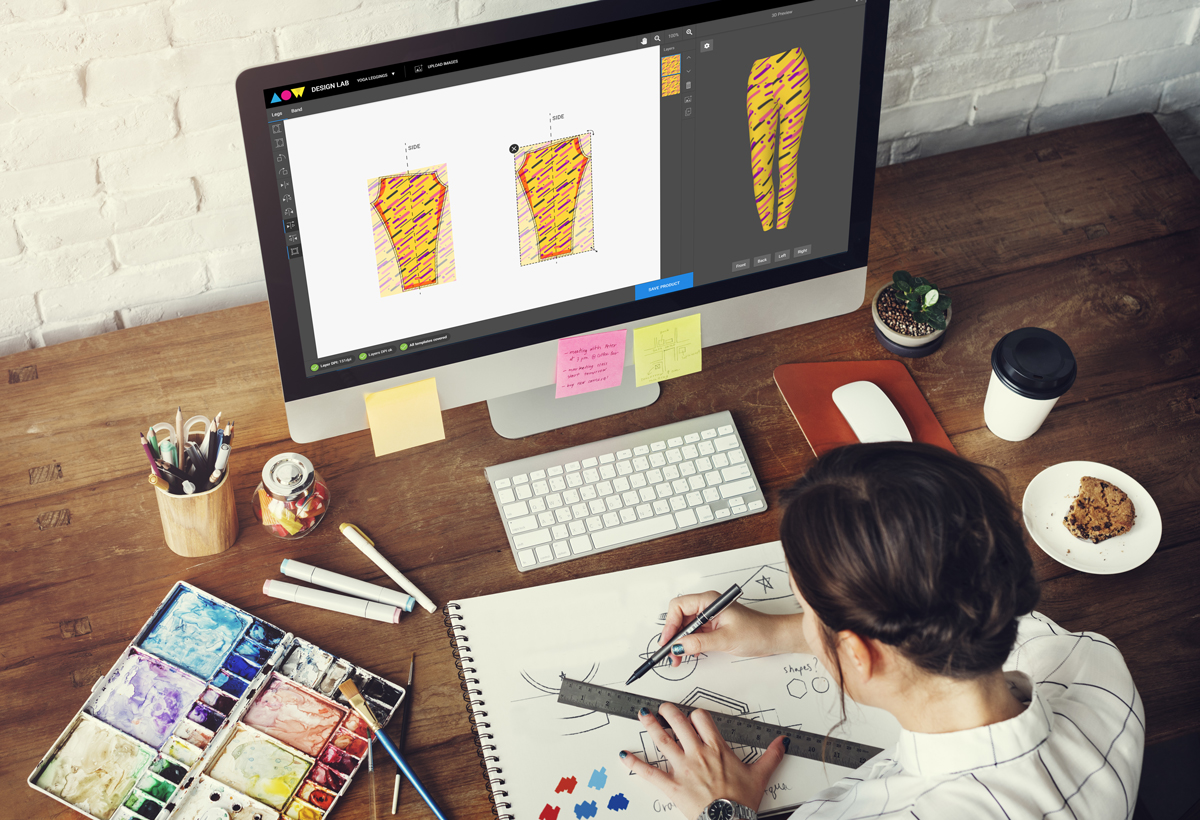
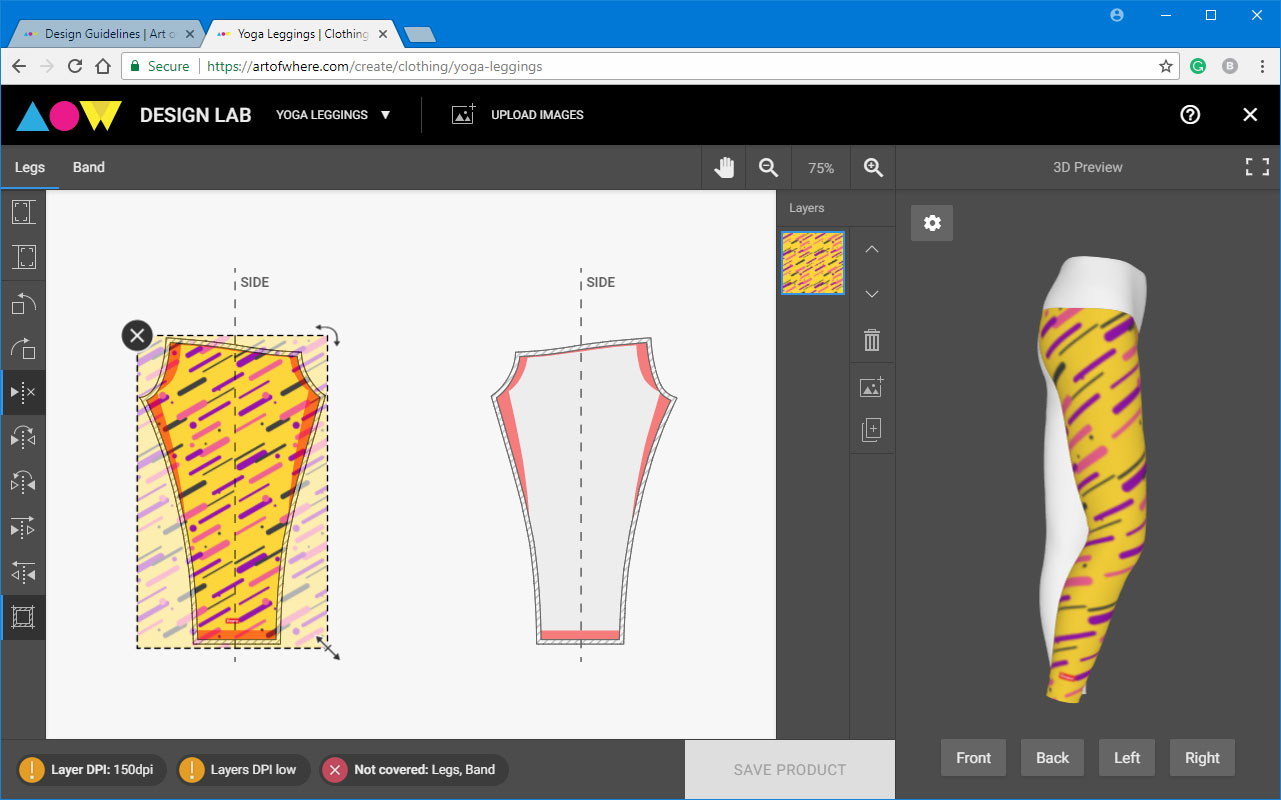
Place your design as you would like on the left leg template.
Choose how you would like to add the design to the right leg template. In this case, we used the clone feature.
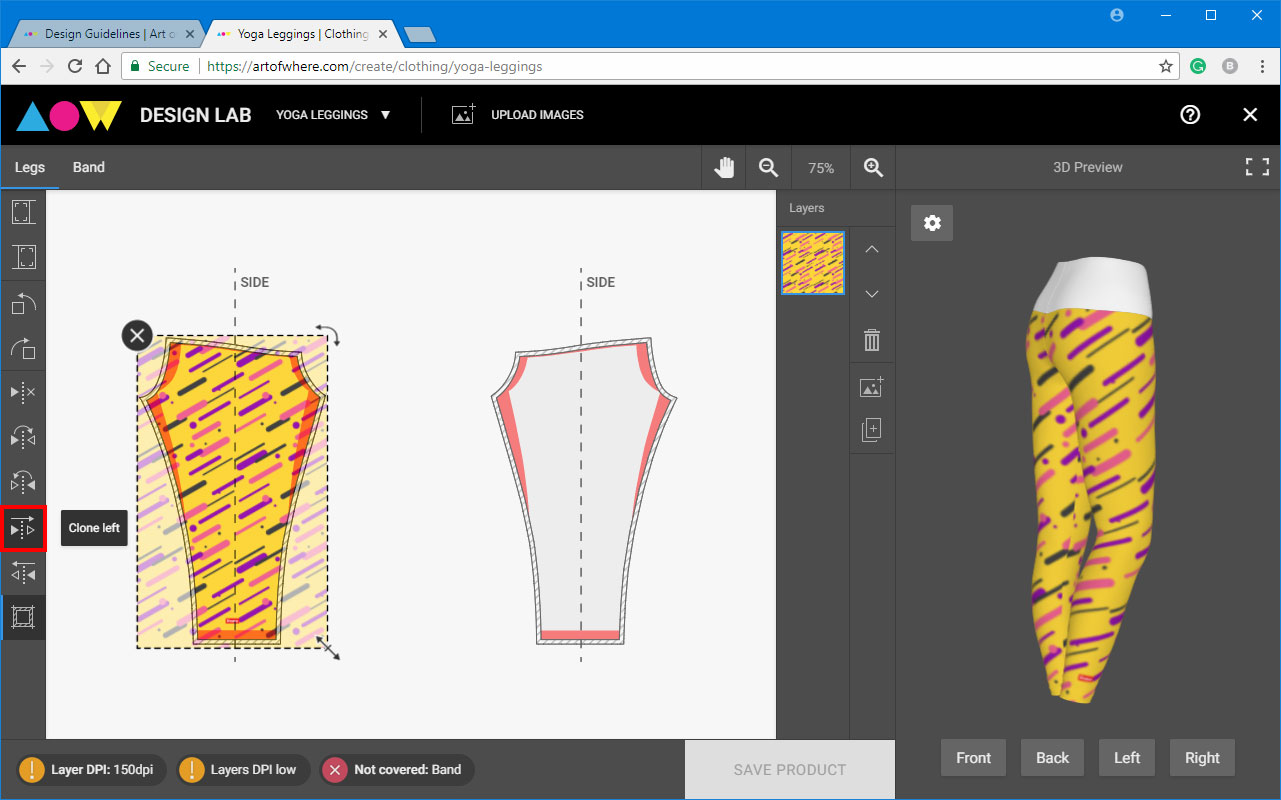
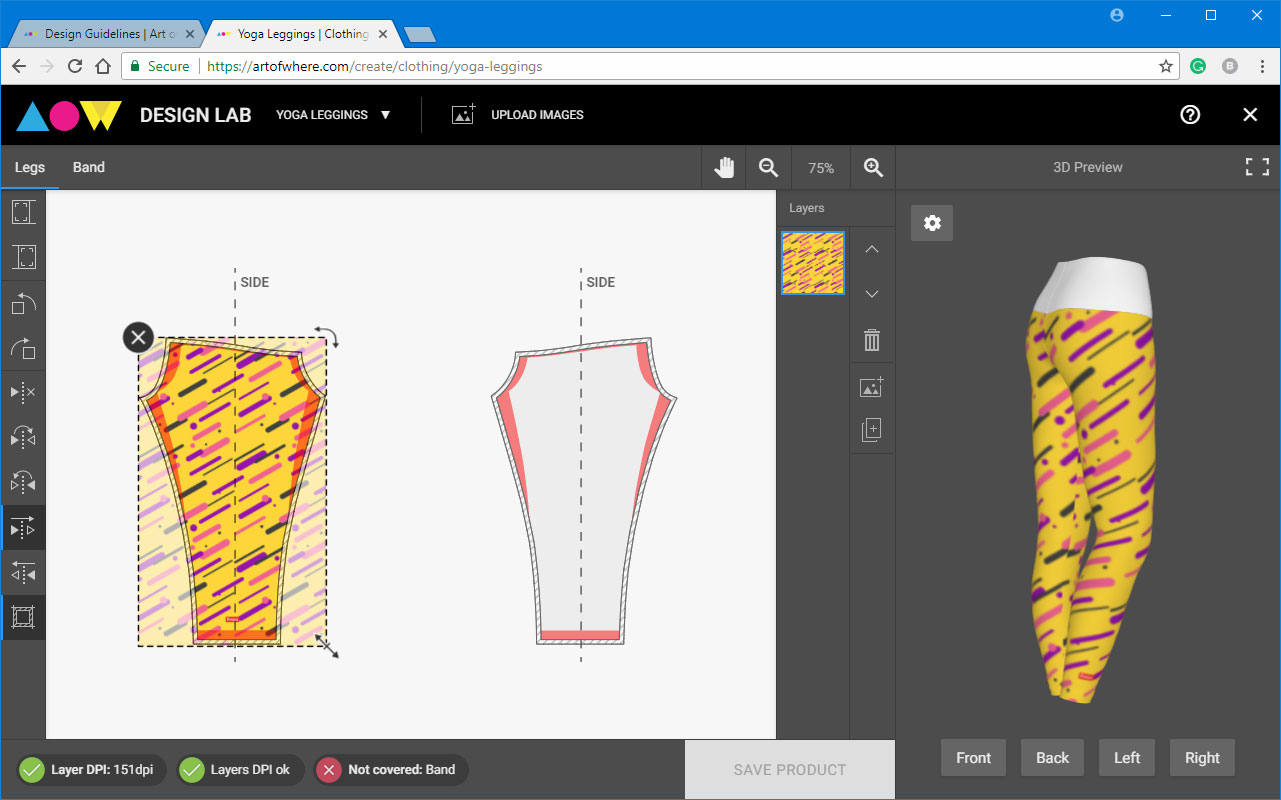
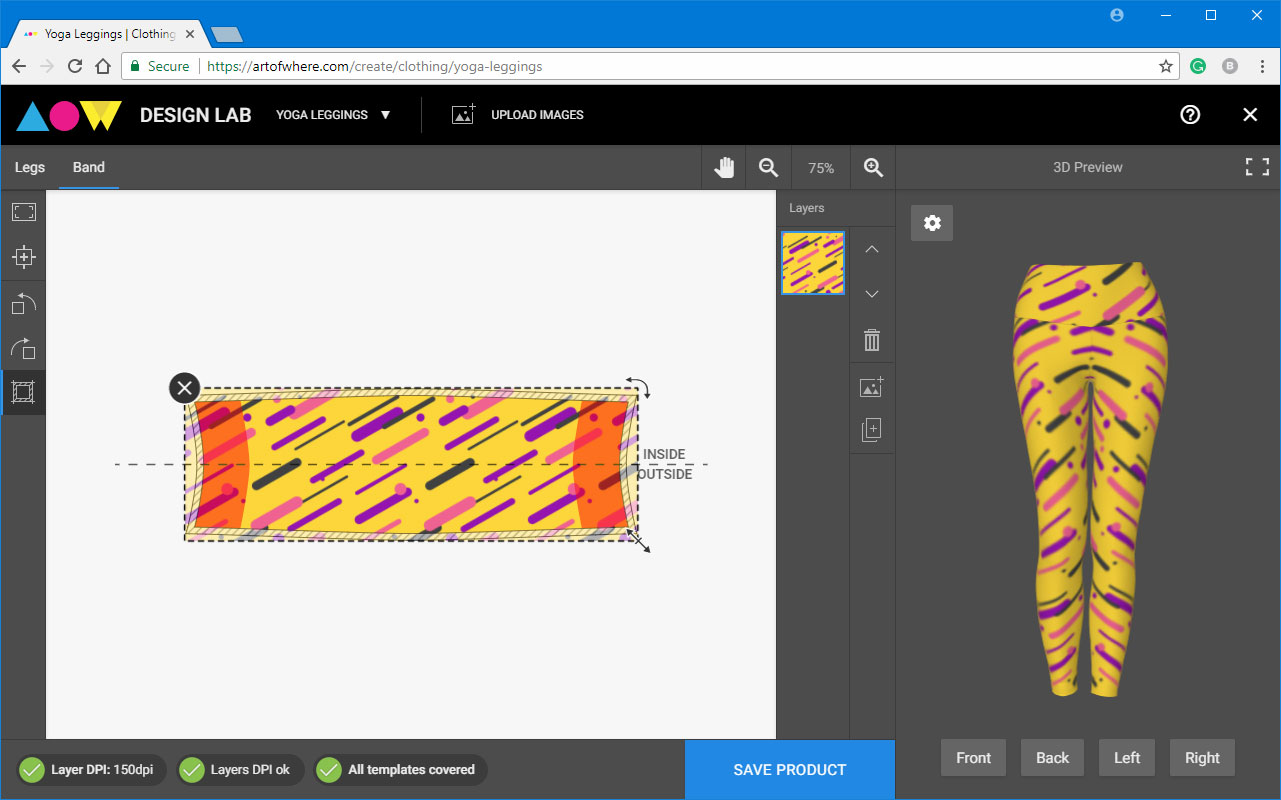
Verify placement by looking at the 3D preview on the right, and double check the warnings along the bottom of the template. Here they indicate that the DPI is good, and that the waist band has yet to be covered with a design.
Select Band at the top left of the design lab to access the waist band template.
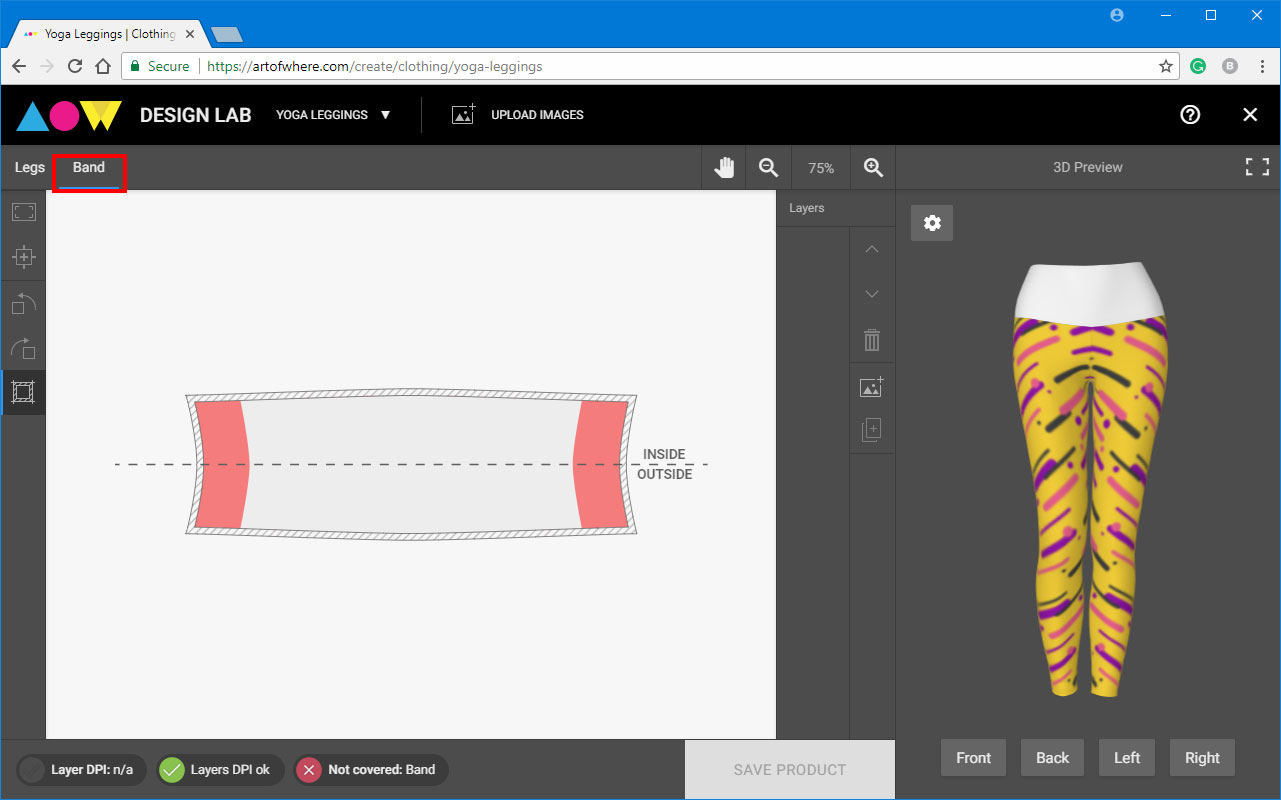
Choose the waist band image file you created.
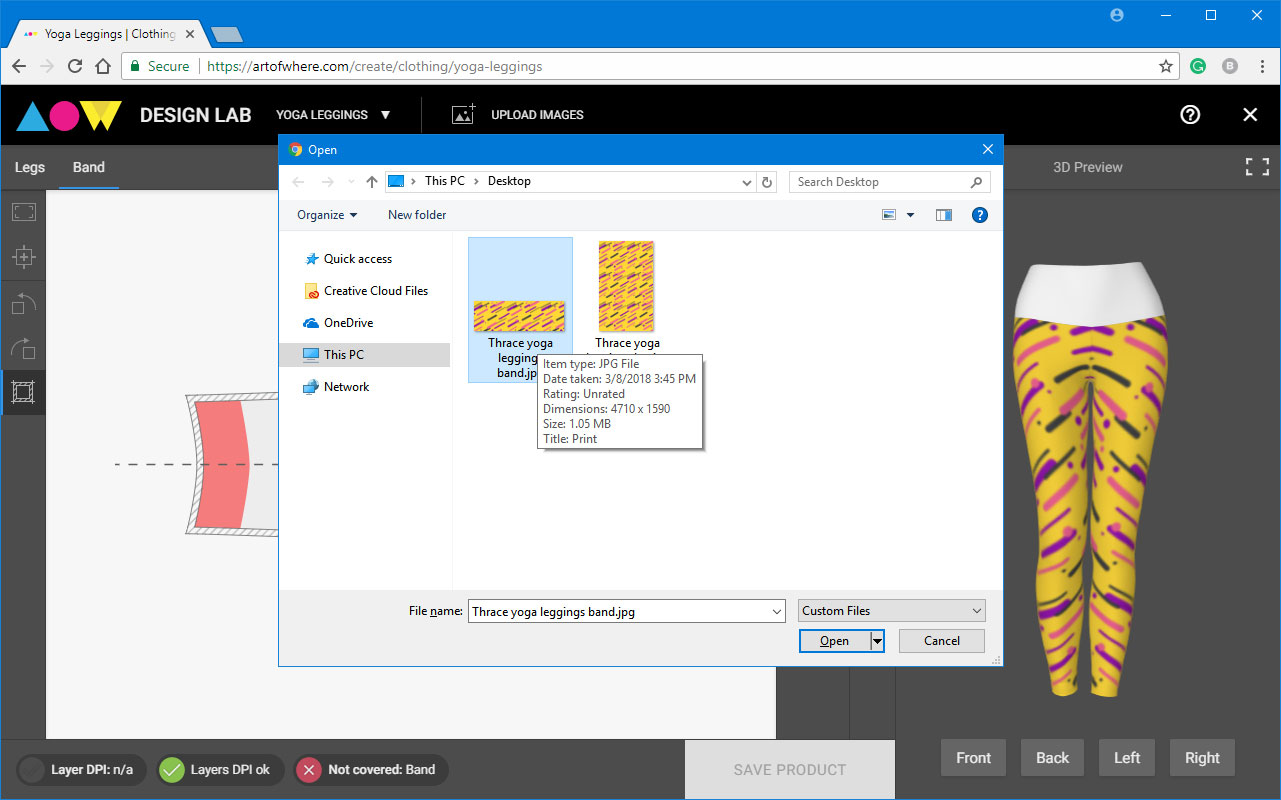
Place your image file as you'd like on the waist band template.
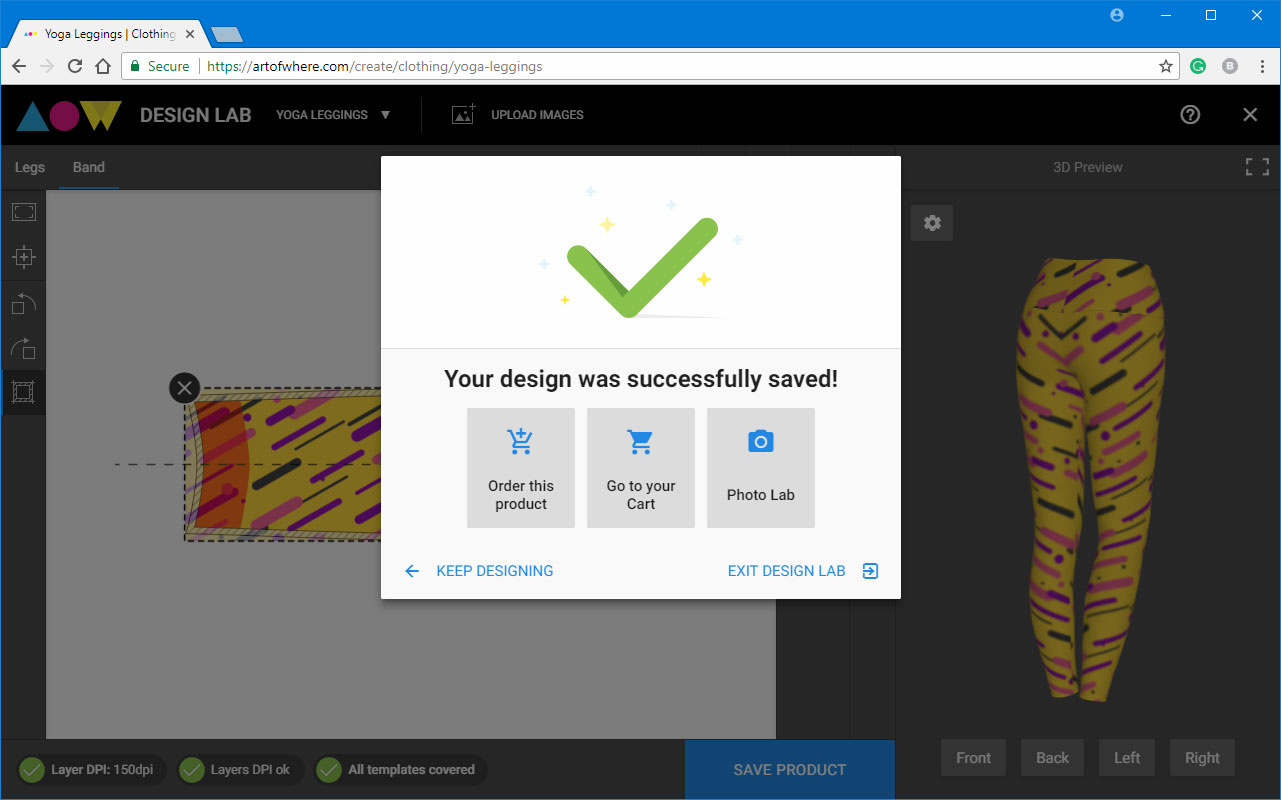
Click on the blue Save Product button. Name your design and save.
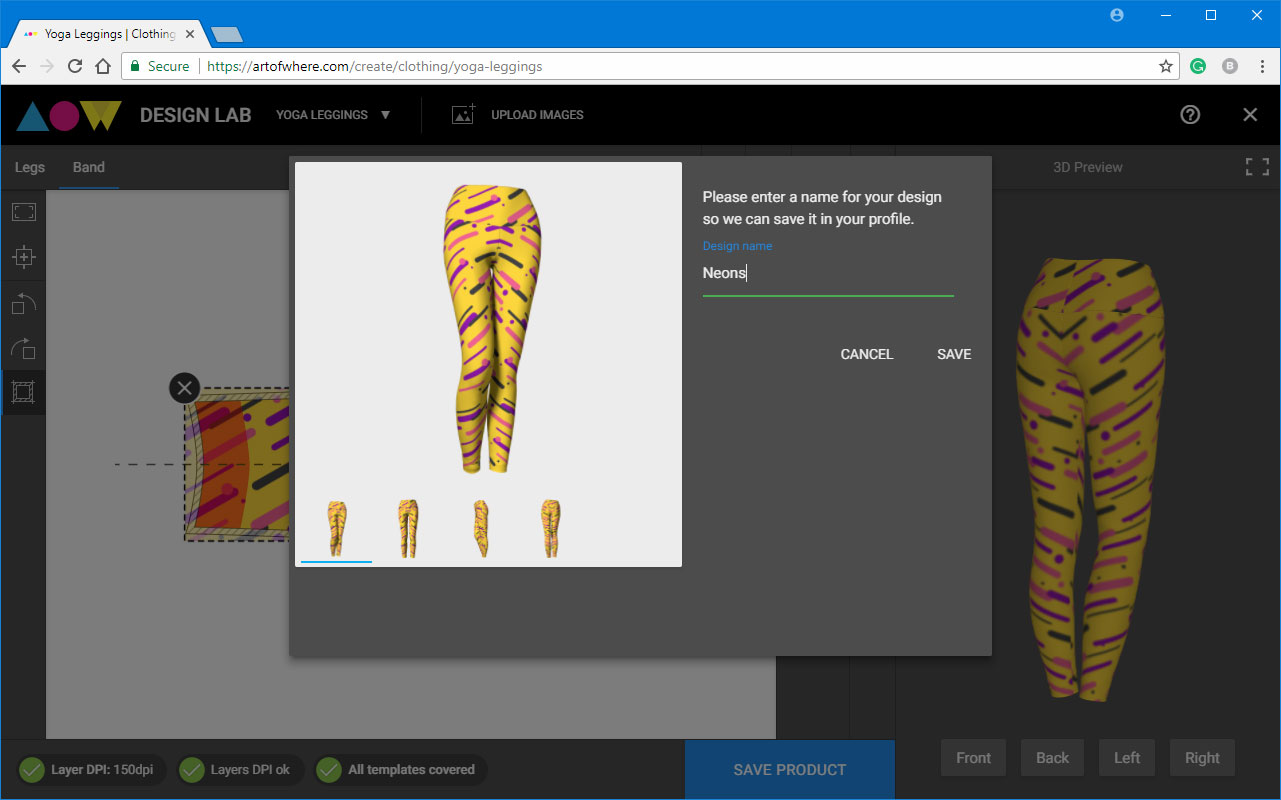
Your design has been saved! You can choose to order, go to your shopping cart or the photo lab, keep designing something, or simply leave the design lab.