From artwork to digital file. How to make your art Design Lab ready.
At Art of Where we turn your artwork into amazing, unique products but there’s a lot of work that needs to be done before you even upload an image! How do you get your 10 x 10 feet painting into the Design Lab on AOW? Where do you find images that you can use for free? We’re going to get into the nitty gritty of how you can get images, and then get those images in the right format for us!
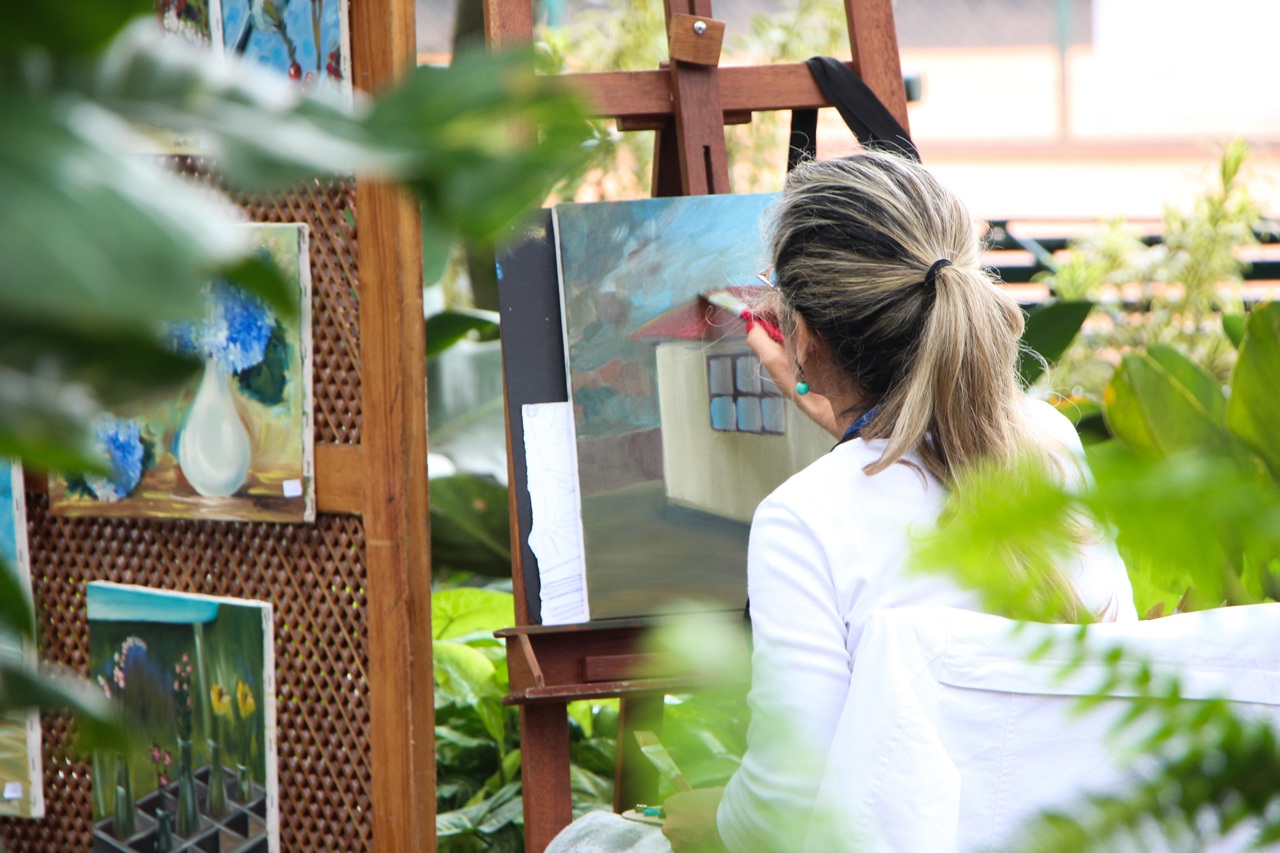
If you have a painting, picture or other physical form of artwork
Physical artwork will have to be scanned or photographed in order to get a digital file that you can then use in the AOW Design Lab. If you’re handy with photography equipment already, there are many guides and videos online, like the one below, that can help you learn how to photograph your artwork.
Some photo studios offer a course specifically for this, like Studio Lux in our hometown of Montreal. We also have our design guidelines available for your reference, so that when you’re looking at your digital photo, you can see if it meets the guidelines.
Regarding the size and quality of the digital file, in this case, bigger is always better! We suggest having an original file of good quality (300 dpi) that is larger pixel by pixel than any of our guidelines. This way you can easily copy and adjust the image in your chosen image editing software to meet any of the possible design requirements.
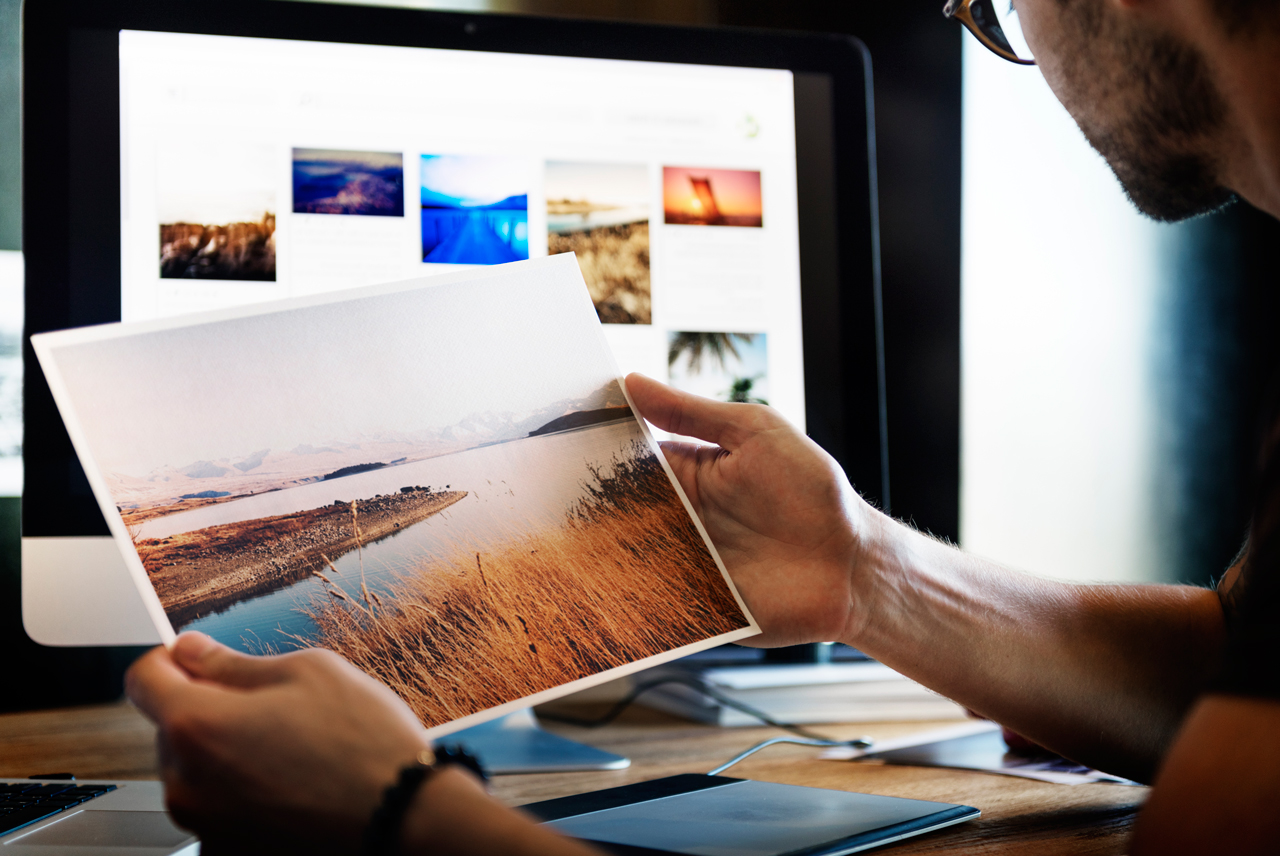
If you aren’t a photographer, you’ll have to hire one. If you’re on a budget, we suggest checking out schools that offer photography courses. There may be students who would like to take on some work for a bit less pay than a professional. If money is no issue, Google is your best friend! Look up local photographers, and photo studios. They usually have online portfolios and you can get in touch with the one you think best suits your needs.
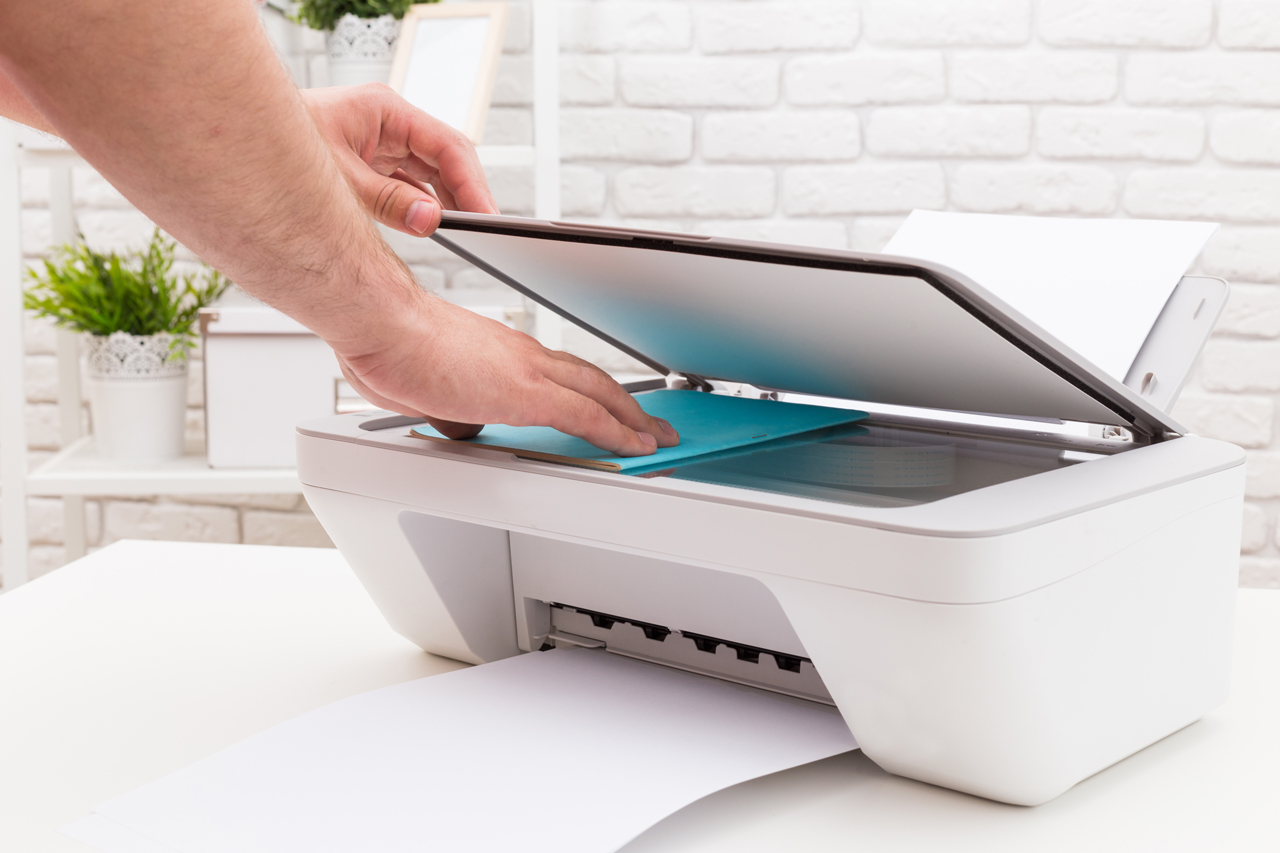
Scanning images is something many of us can now do at home thanks to fairly inexpensive all-in-one printers and scanners. Scanning at home is perfect for smaller artworks. If you have art larger than a standard piece of paper (8.5 x 11 inches here in North America), or you don’t own a scanner you’ll have to look into local shops that have larger scanners. For those of us in Canada, there are Staples copy centres in most major cities or there are more specialized places like
Acco Photo near us in Montreal.
Similar to our suggestion for photographs, artwork should be scanned at a higher quality (e.g. 300 dpi) because you can easily copy the file and make it smaller without losing any detail. Making it bigger and keeping it good quality is much harder to do. Once you’ve got your scanned image saved, you can edit it as needed and upload it to our design labs. There are many, many, many video tutorials and posts about how to scan images, and a lot of them include editing tips as well!
You would like to create neat products but you’re like the author of this article and you have no drawing or graphic design talent?
Art of Where was definitely created with artists in mind, but that doesn’t mean that you have to be an established designer or artist to make something amazing! There are resources out there that with a bit of cleverness, can be used to create fantastic products.
If you have a bit of cash to start up, and an idea, you just need a person with the creative skill to bring that idea into the digital world. Graphic designers are out there and ready to work! You can definitely check out local graphic design studios or artists, but there are also online resources which are great if you’re trying to set up a side business and don’t have much time for weekday meetings. Check out Freelancer and Upwork to start! Remember to ask about licensing of any artwork you commission. While designers and artists will provide work on commission, they may have a policy about how and where it can be used. If you intend the artwork to be reproduced (like we do when we make your products) this is different than commissioning a piece that will simply hang on your wall. Always have a clear agreement when working with another artist.
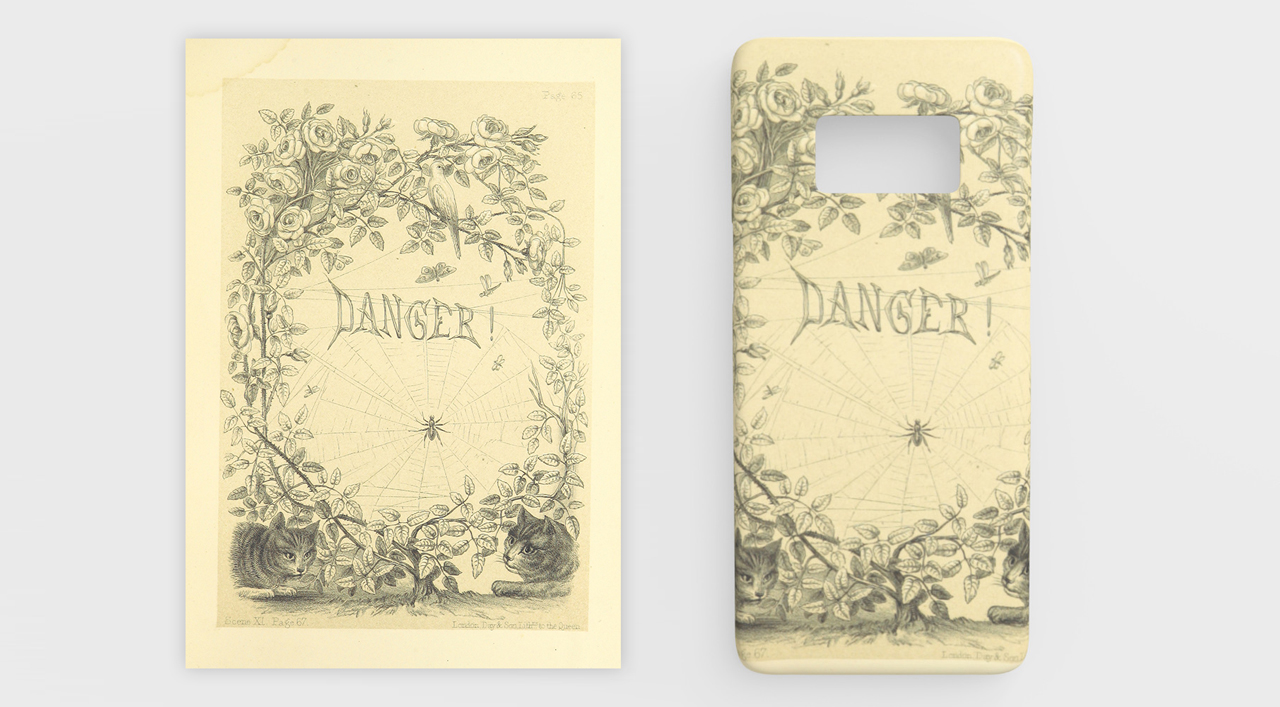
If you are looking to experiment a bit with images, but you don’t have a huge bank of photographs or artwork, look for public domain images. For Canadians, UBC has online information about what public domain means and Americans can check out Cornell University’s site. No matter what country you are in, make sure you are using images legally. Some sites on which you can find public domain images are Pexels, the New York Public LIbrary digital collections (check the box to search only public domain materials) and the British Library has uploaded over a million images to Flickr Commons.
I downloaded the following image from the British Library Flickr, and used it to design a Samsung Galaxy 8 phone:
If you don’t find what you’re looking for in the public domain, there is always Adobe Stock. There is an amazing amount of high quality photographs and graphics on Adobe. When buying stock images you need to make sure you are purchasing the correct license for what you want to do. In order to make merchandise with the image, you need an extended license. Again, due diligence is very important. When using Art of Where’s services you agree to our terms of service which indicate you must have the right to use the artwork you upload.
There are so many ways to make amazing images and designs. We’ve just scratched the surface here. We are constantly impressed by the creators using our services and we’re sure with our tips and the wealth of information available online, even a novice designer can make something beautiful!