Transparent Backgrounds for DTG printing
How to remove a single colour from your image using Photoshop.
DTG printing is an easy way to print an image onto almost any t-shirt. DTG means direct-to-garment and like the name suggests, the finished garment is actually loaded onto the printer and printed. The whole print process takes 1 min or less!
With DTG printing, one of the main things to keep in mind when selecting images or setting up your print files is the colour of the garment that you want to print on. Some images are perfectly OK across all t-shirt colours, whereas other designs will have to be properly created for specific colour shirts.
With the launch of our printed tees, knowing how to remove 1 color (usually the background) on your images will turn you into a DTG file prep wiz! Here's how to work with Photoshop to remove a solid colour in a few steps so your t-shirt turns out as you envision.
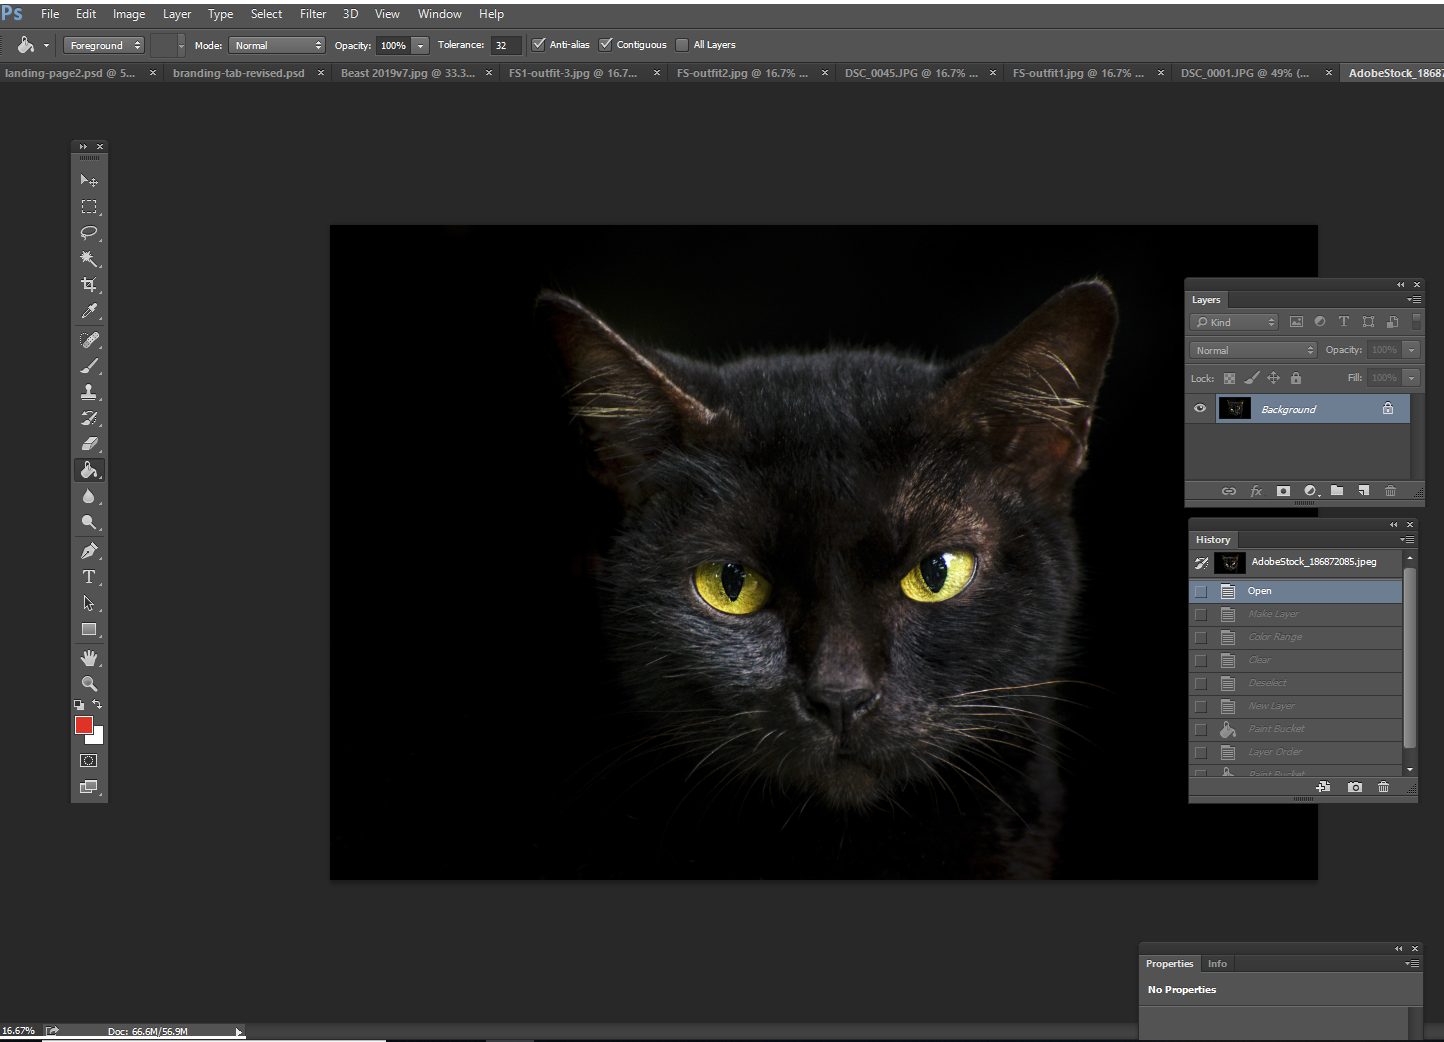
- Open your image in Photoshop.
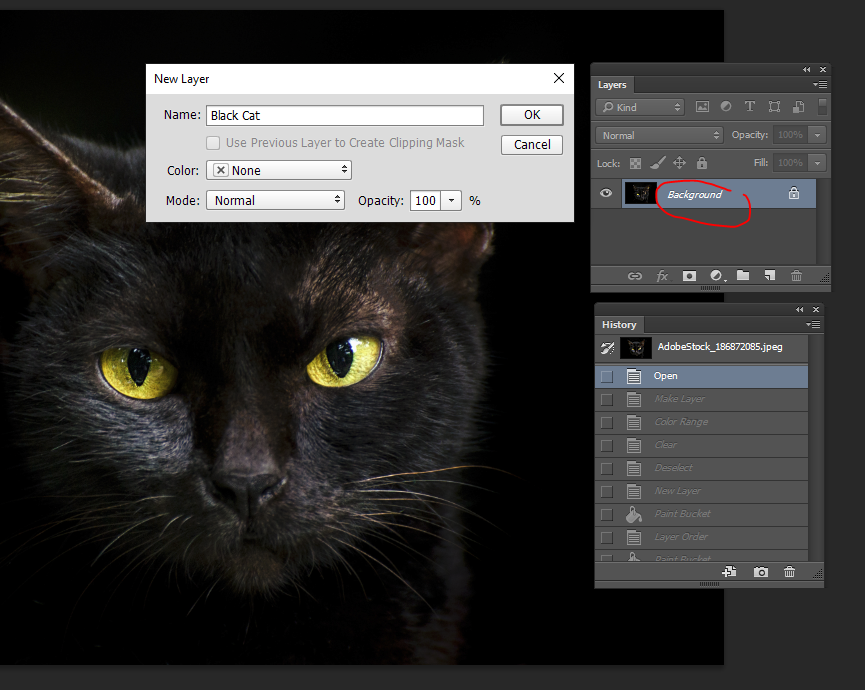
- Double click on the Background layer and rename it.
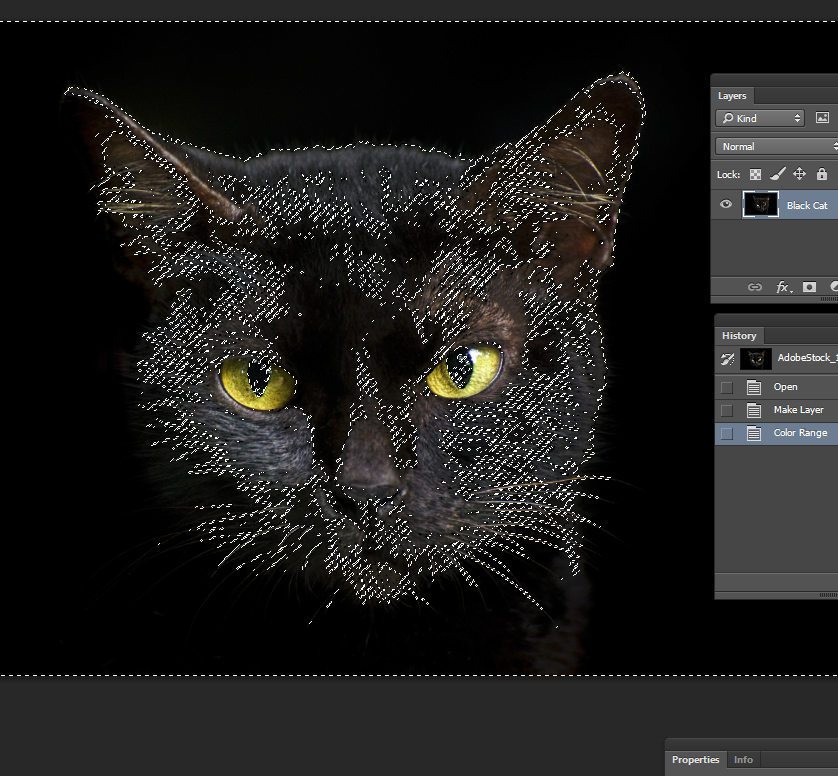
- From the menu at the top, click on Select and choose Color Range...
- You'll see the colour selector dialog open. Use the eye dropper and click on the background colour (black). Adjust the Fuzziness slider depending on how much black you want to take out.
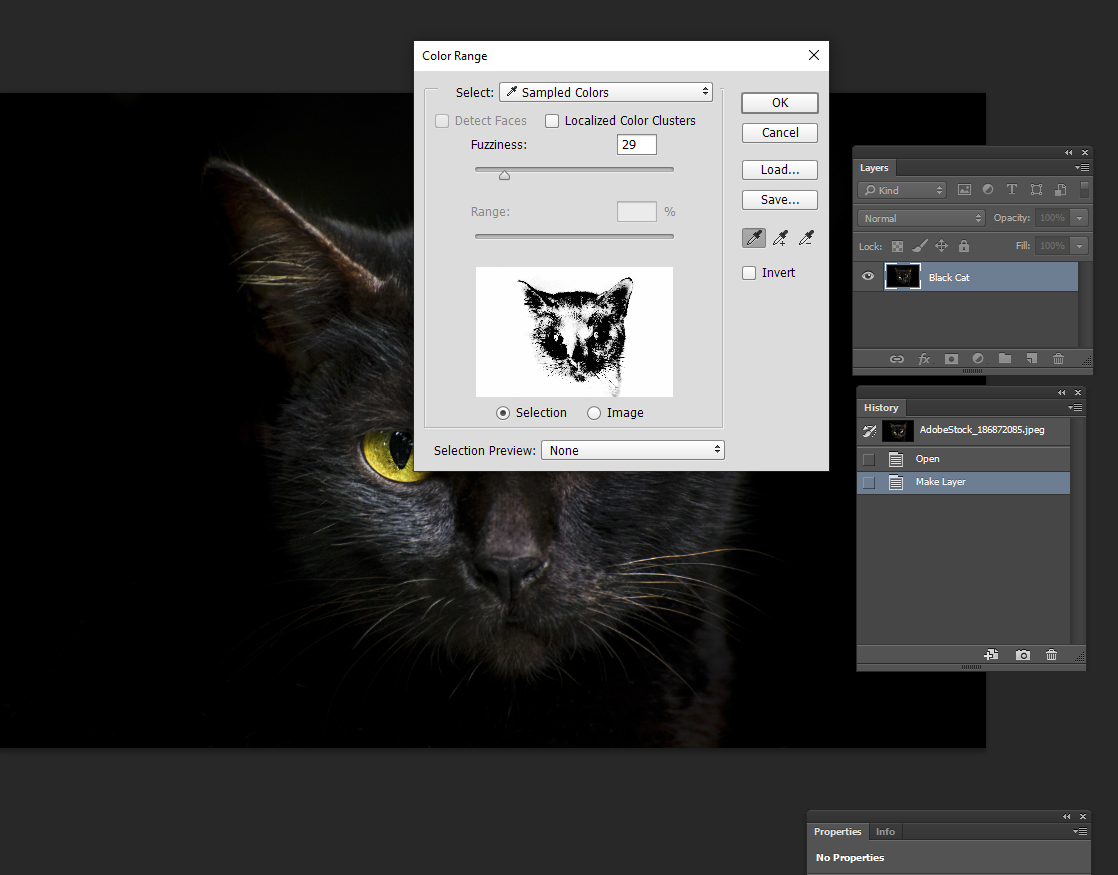
- All the selected areas will be encircled in a moving line. If you're not happy with the selected area, hit CNTL+D and redo the Color Range select.
- Hit the delete button. This will remove all the black. You'll still see the selector lines. Hit CNTL+D to deselect.

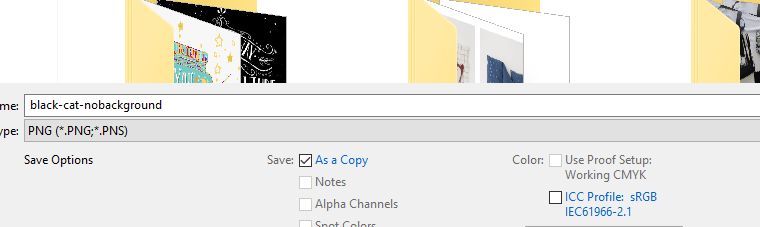
- Double check your artwork size is right and save as png. The .png format will preserve the transparency in your image and will translate properly to the DTG printer.
That's essentially it! Not too many steps, nor too advanced. Now you can take it one step further to see how your image will look on various shirt colours. Do this by:
- Create another layer. Do this from the top hand menu Layer>New>Layer...
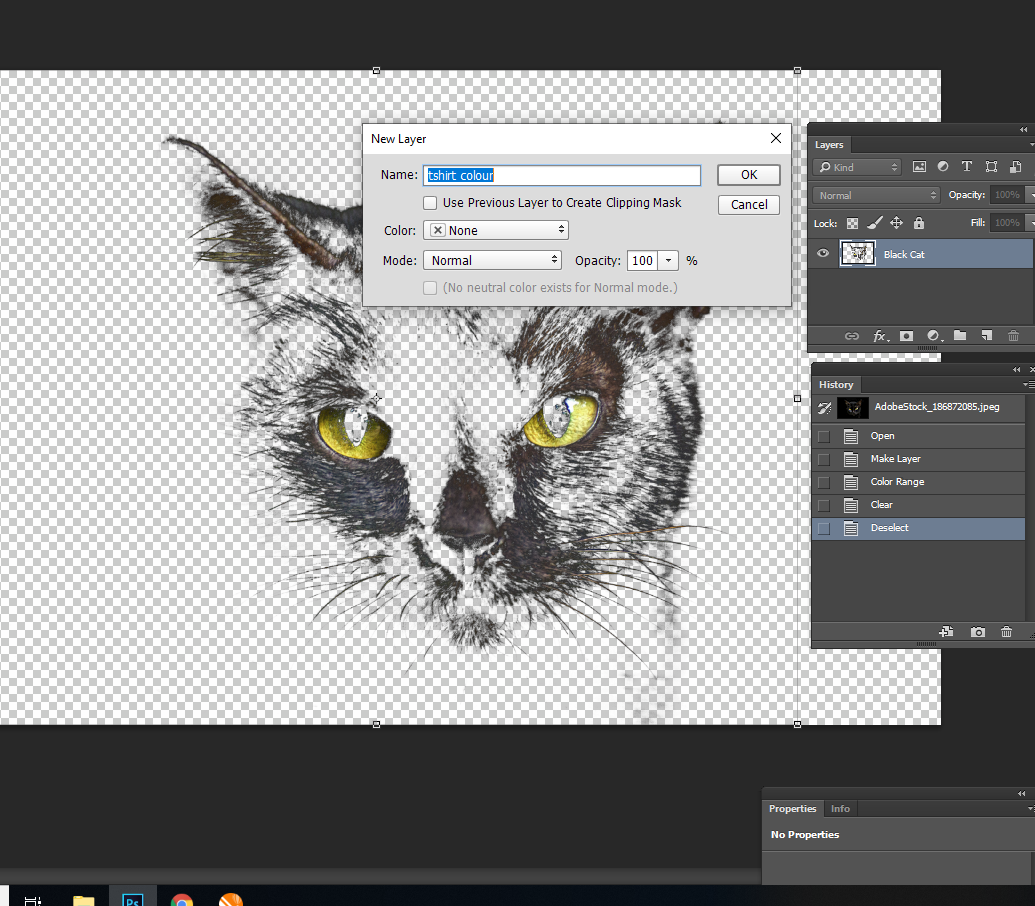
- We're calling our layer T-shirt Color. Once you have the new layer, go over to the left hand menu and choose the paint bucket tool. Double click on the colour chooser tool in the left hand menu to get the fill color your after.

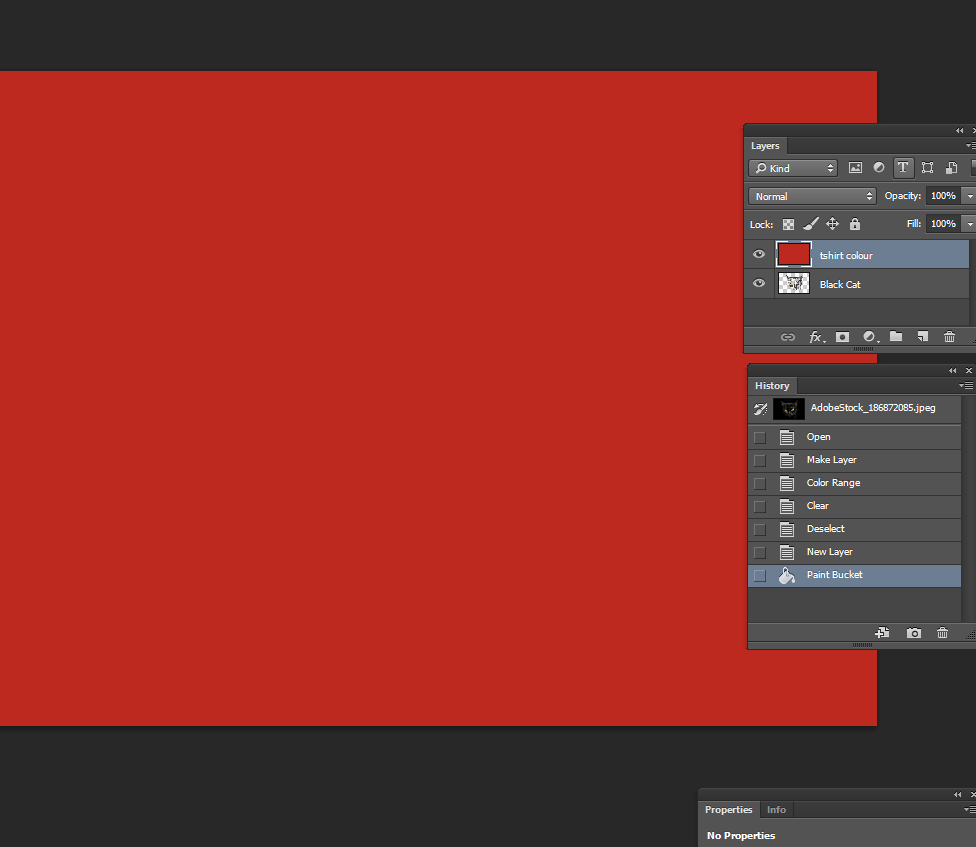
- Fill the new layer with color. The way the layers work is this color layer is now ontop of our cat layer. Go to the layer box and drag the tshirt color layer below the cat layer. Now it will be below our cat graphic and we can see how the cat artwork would look on a red shirt vs. a black shirt.
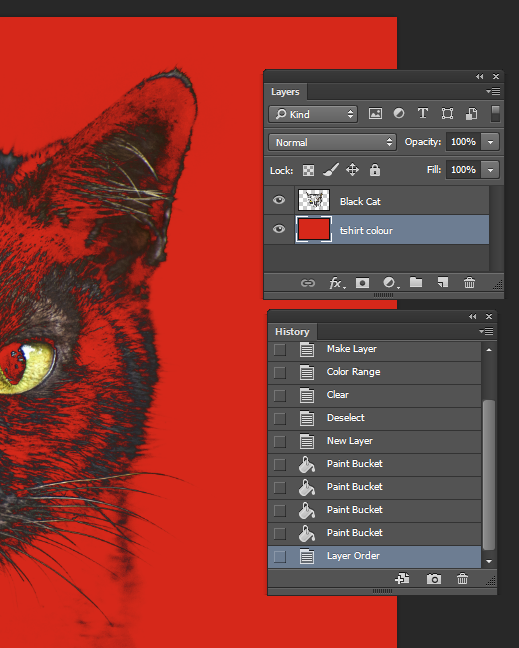
- Make sure to save the image WITHOUT the t-shirt colour or else it will be printed with the red box!!
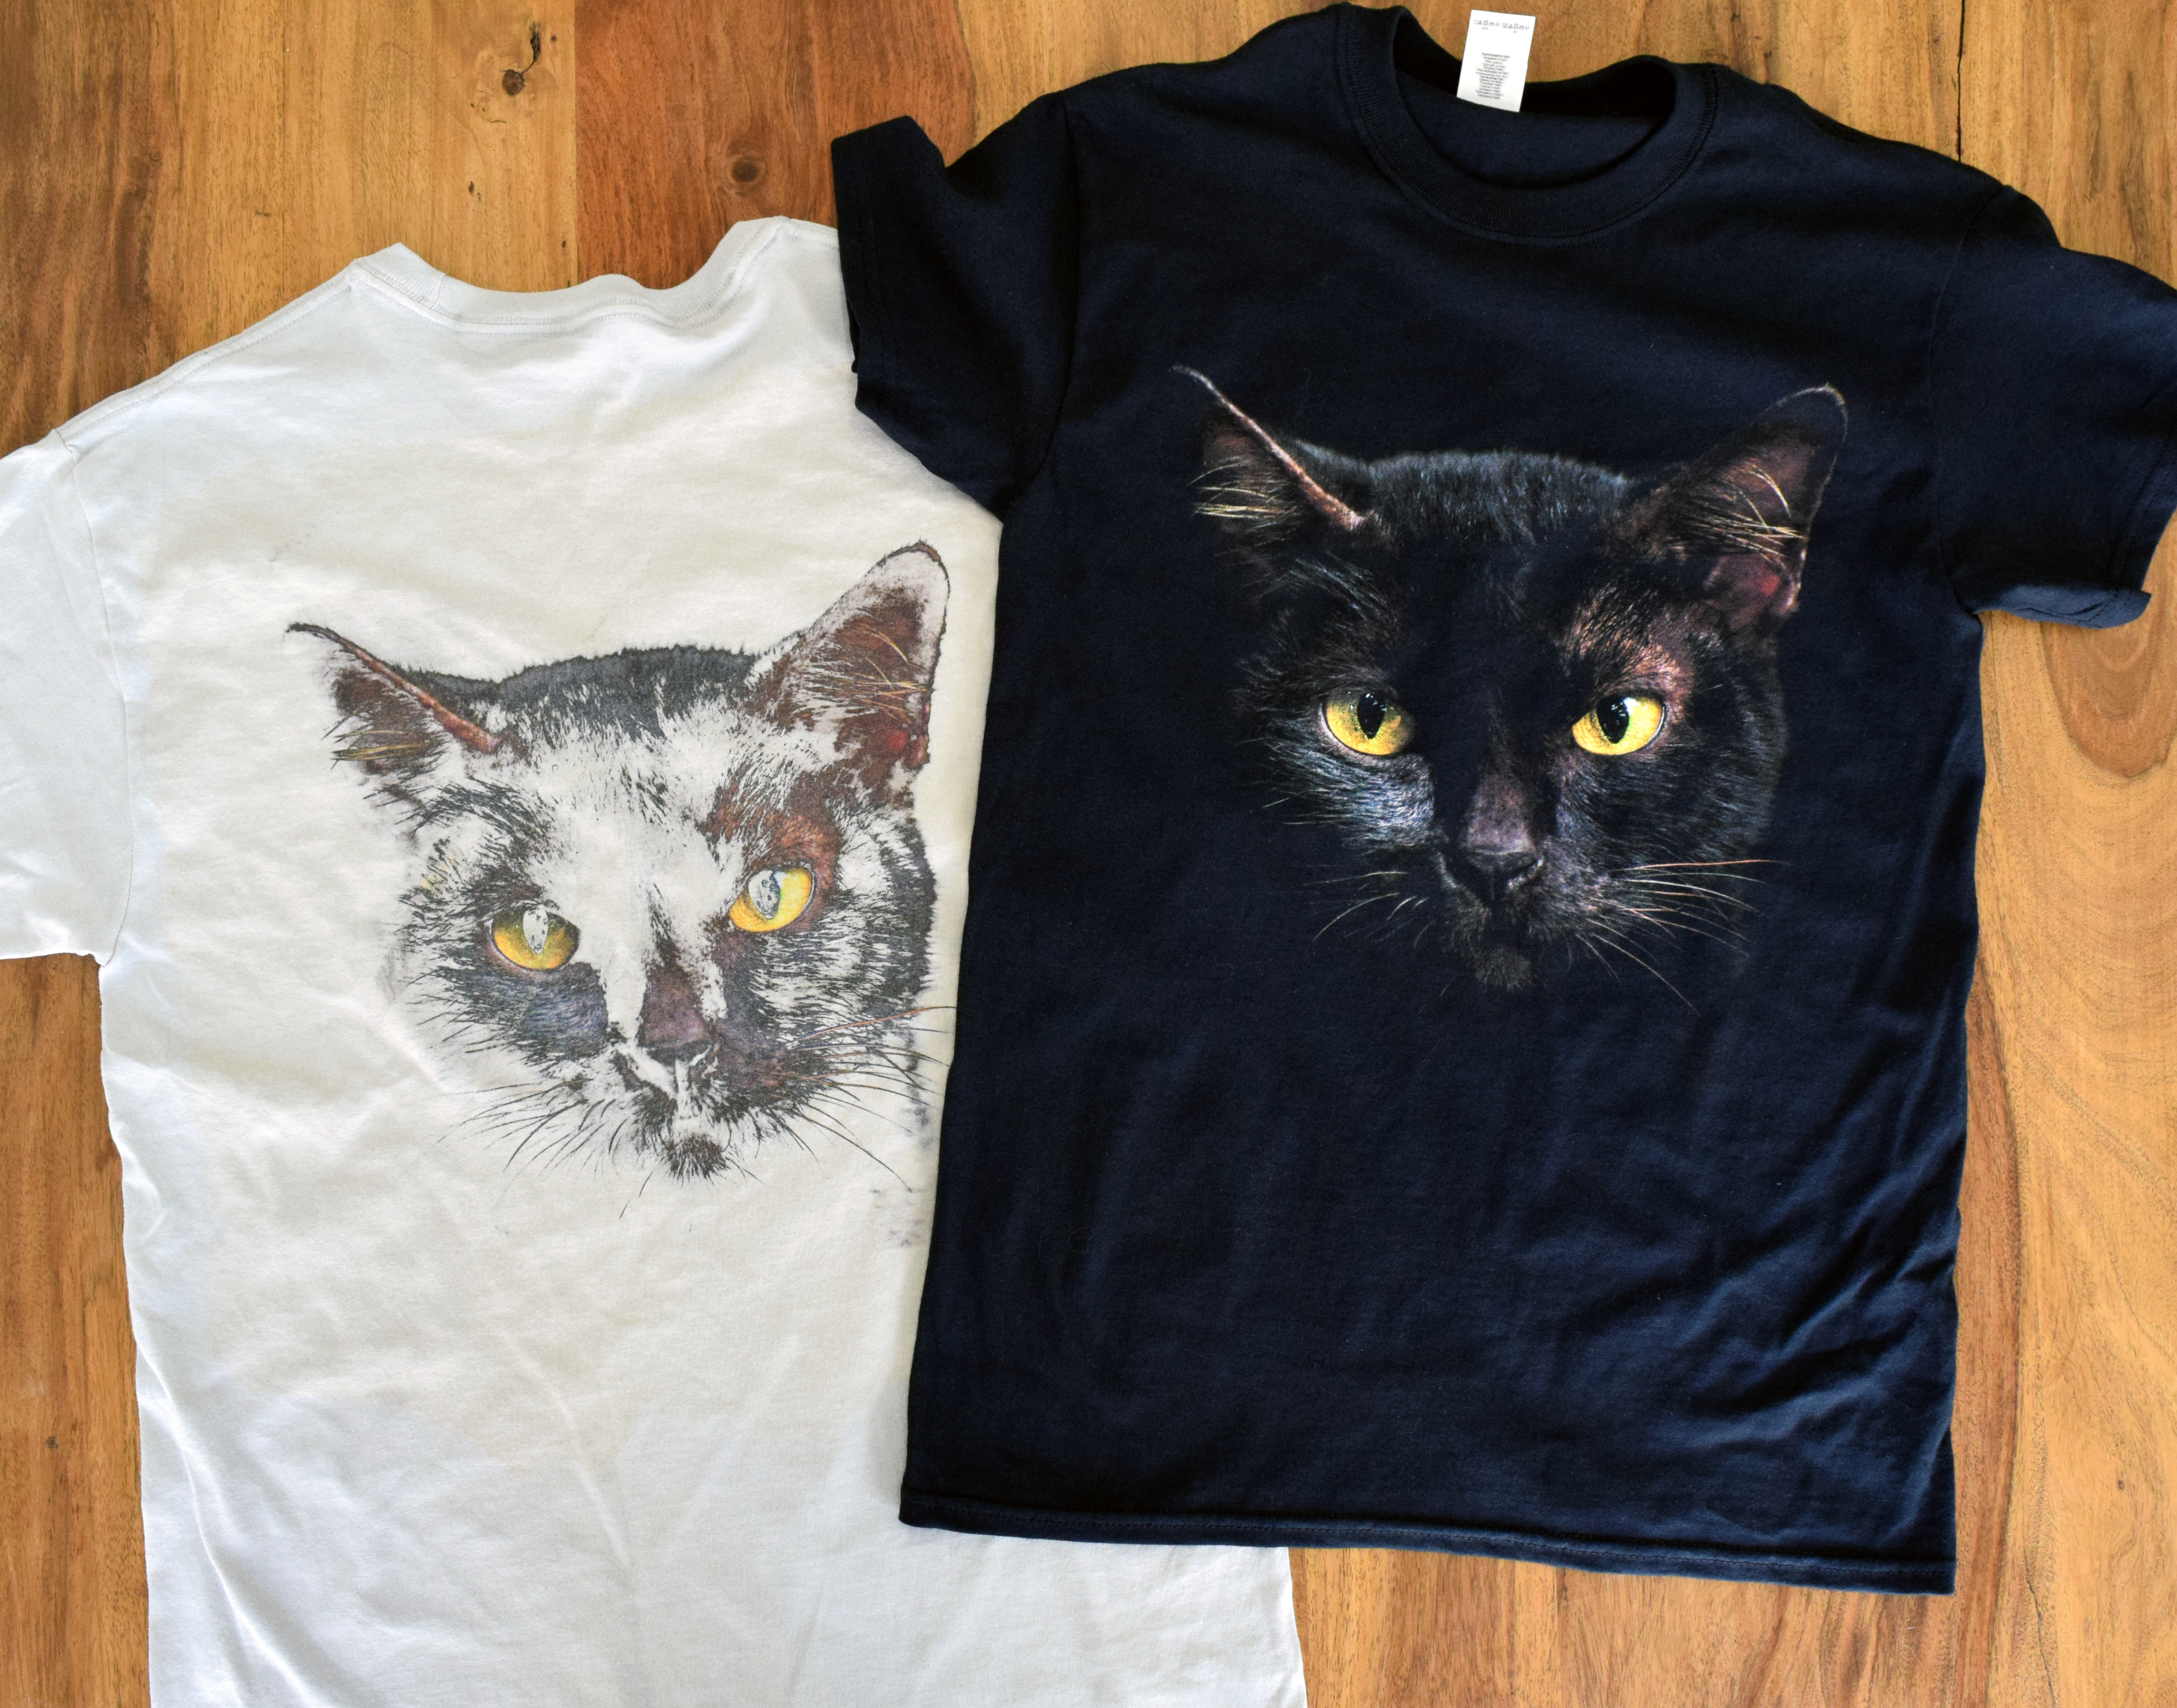
That's it! See how this kitty prints on the shirt IRL!

Doesn't quite look right on white but puurrrrfect on black!
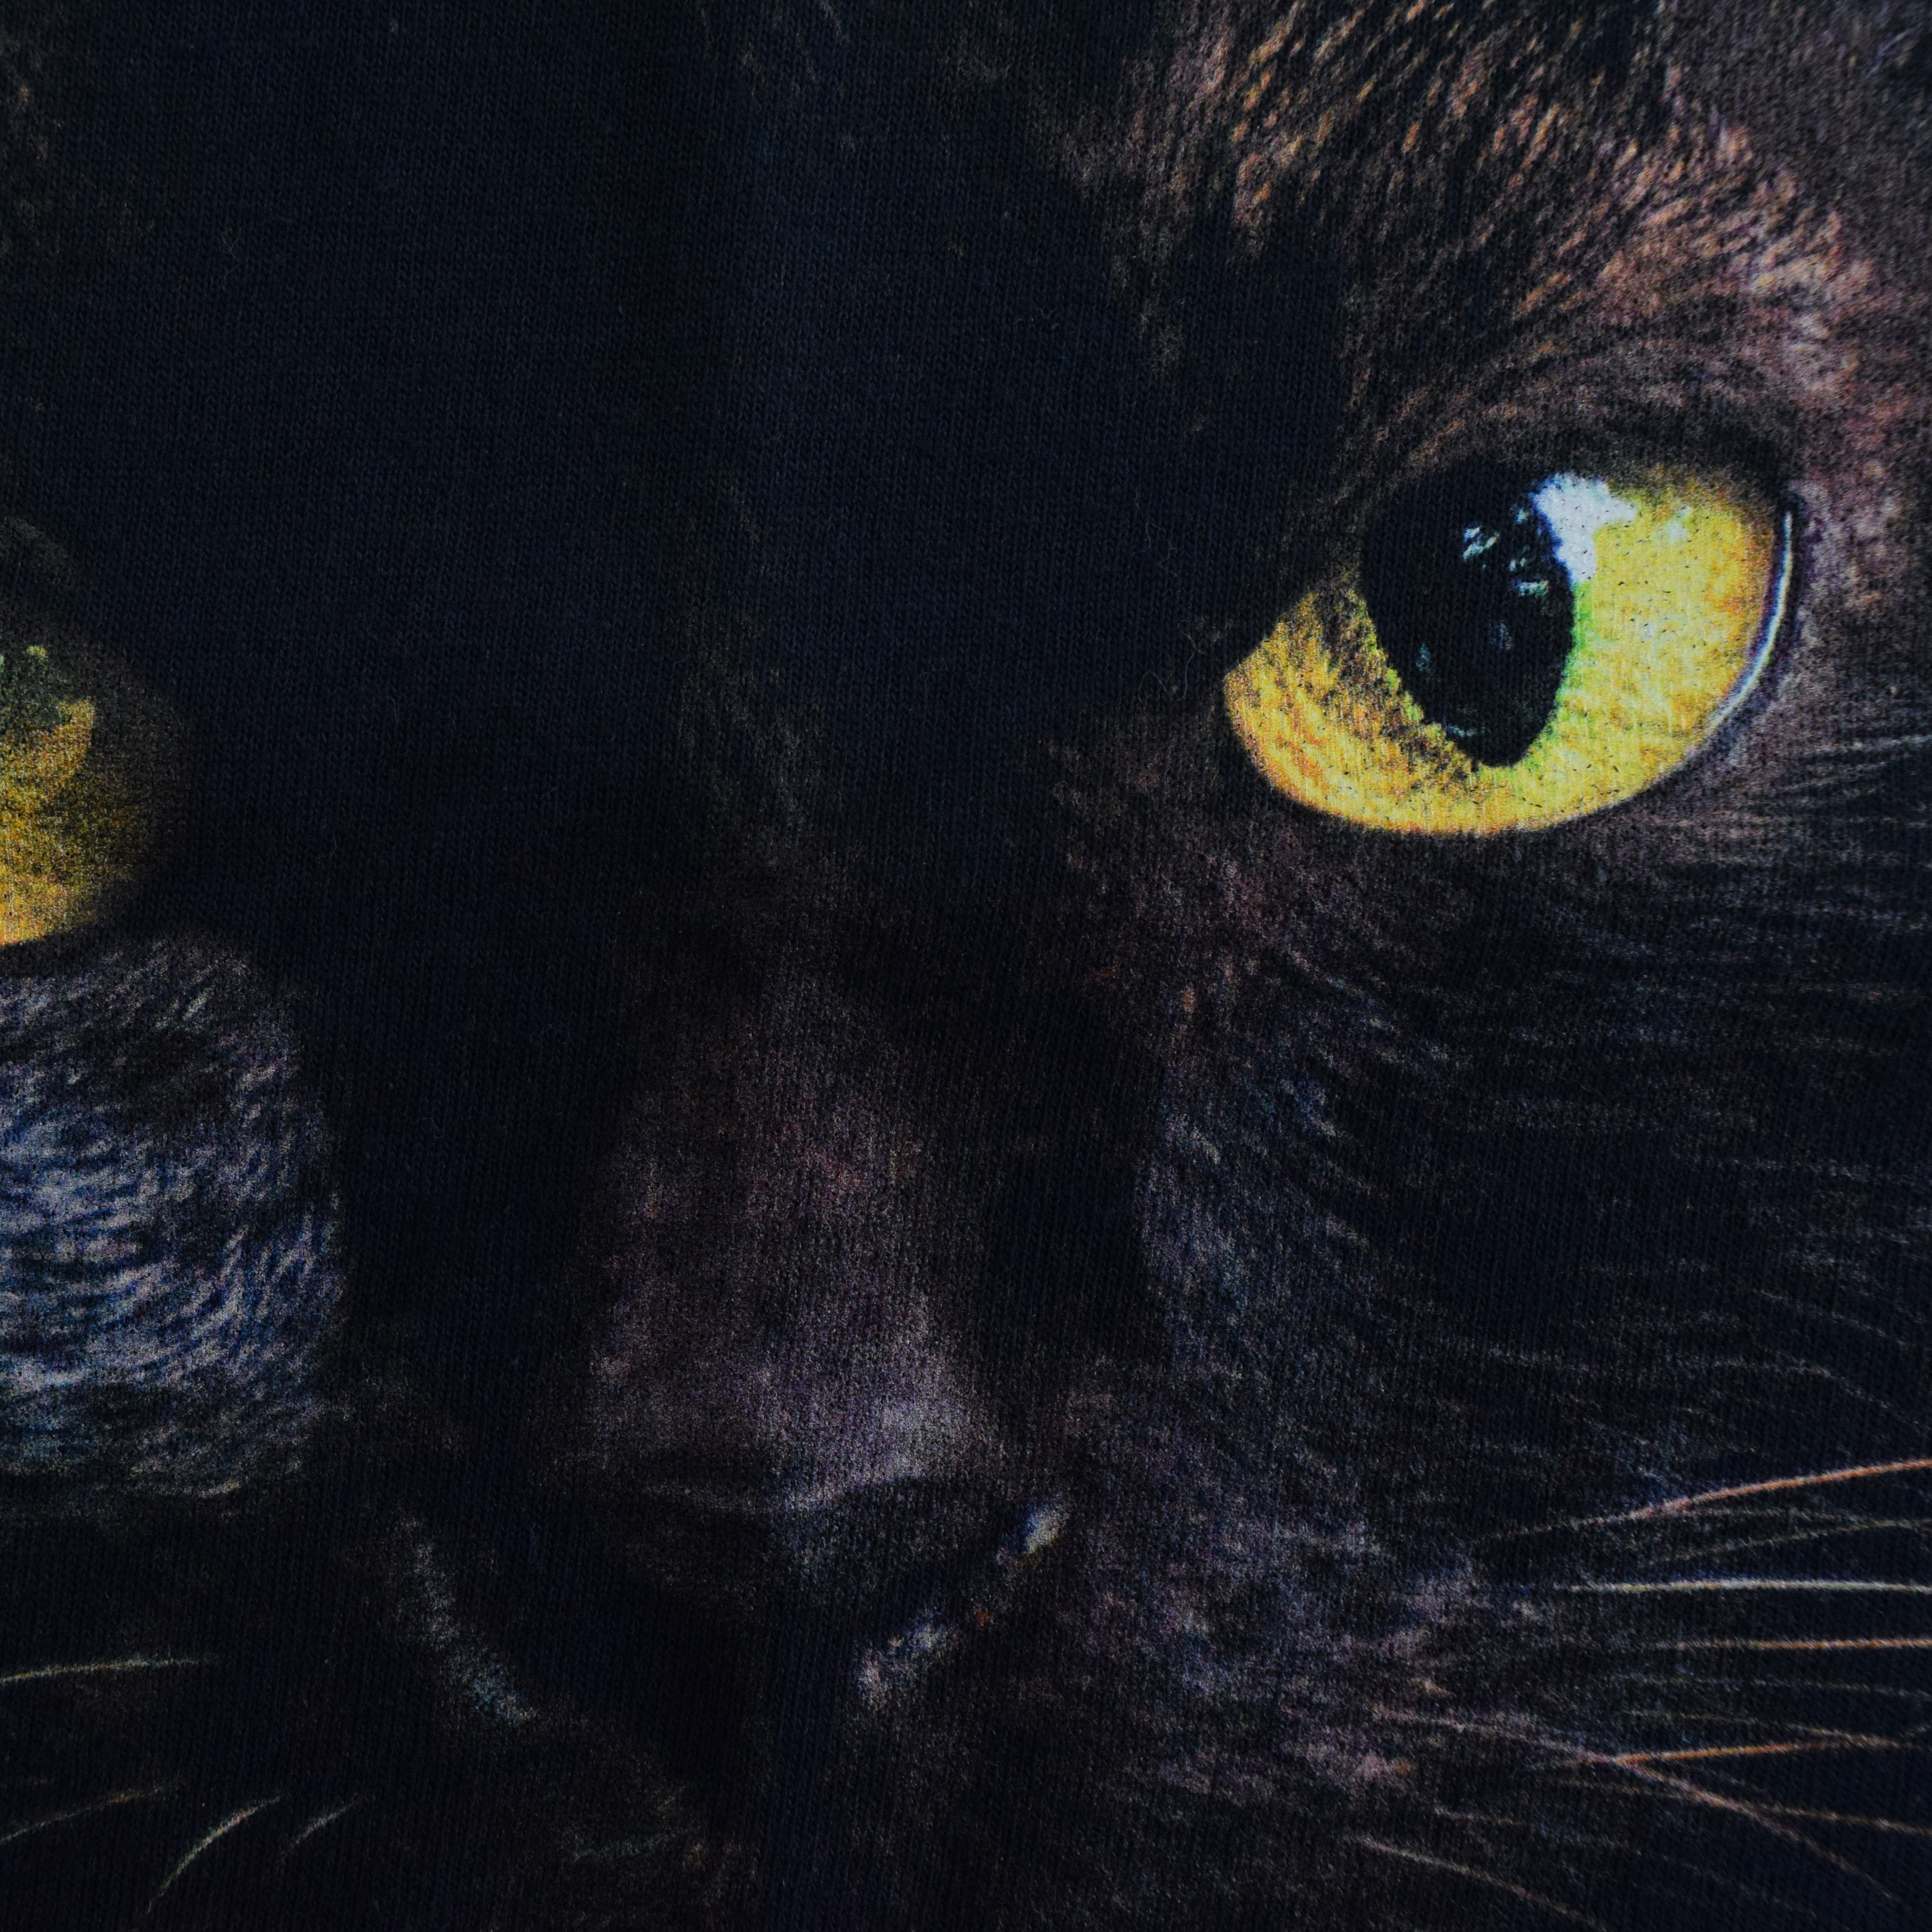
The black is the t-shirt which means less ink and a super-soft print feel.

This is why it's essential to remove that background! No one wants that boxy print when it can look soooo much better!
Check out how we put this cute cat on a t-shirt in our Design Lab:
Need more help with designing? Check through our DTG Print Guidelines page or if you're ready to dive in, try the T-shirt Design Lab!
That's all for meow.